This afternoon I started work on the canopy latch assembly. It was pretty straight forward work. This is when I need to be EXTRA careful. When things are complex, I slow down and am super careful. When things seem fairly easy, I screw up. So, I kept pausing and re-reading and re-thinking.
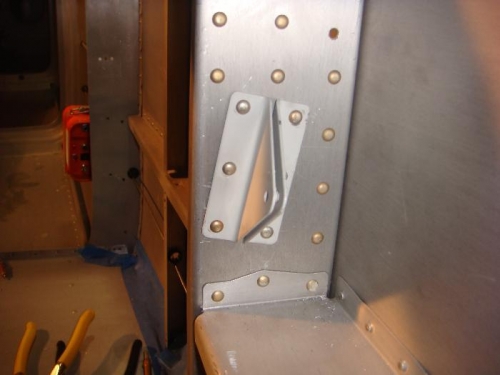
First, I installed the canopy latch. It is held in place by two bushing blocks. They are partially backdrilled while being clamped in place. I drilled the final holes on the drill press and enlarged the holes in the channel. The right side of the canopy hinges is then trimmed a bit.
Next, I drilled and riveted the hinge brackets. I squeezed the rivets on all but the center aft hinge. (I actually had a tough time with the top aft rivet. I needed to drill it out twice. It kept tilting to the side.) I ended up using a pulled rivet on the center hole.
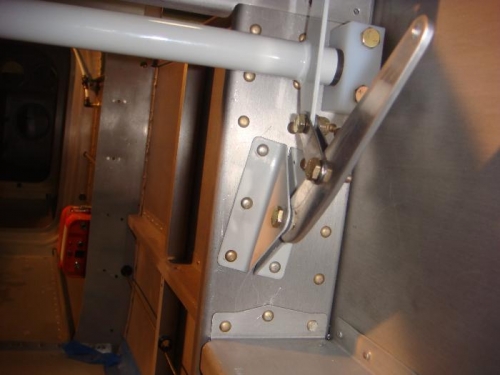
I finished the edges of the beam idler. The links needed to be twisted a bit as well as finished. I temporarily bolted everything together.
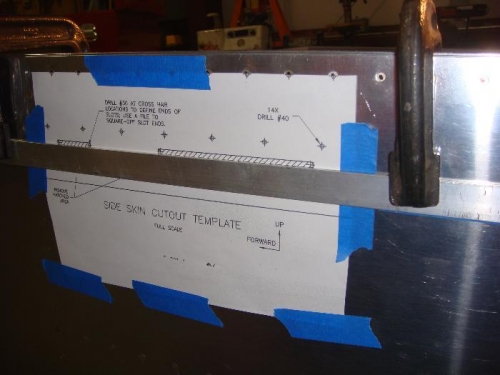
Before I headed out for the day, I started thinking through the cut in the fuselage. I taped the template on the fuselage. (To get the template lined up exactly, I trimmed the pattern at the top template holes. Then I put black dots in the center of each rivet along the top and lined the pattern up on the dots.)
I am planning on using my new vibrating cutter to make the cuts. So, I practiced making a few cuts. I think it will work great.
To keep the cutter lined up, I clamped a piece of aluminum onto the fuselage.