
|

|
|
|
ALAN'S WEB SITE
|
Date: 9-20-2008
|
Number of Hours: 8.00
|
Manual Reference: 6-5
|
Brief Description: Rudder and elevator preparation
|
|
Great progress today!!
Started out deburring that left elevator. (Dang it takes a long time to debur things. It seems like half my time is spent deburring.) Then, Dad helped me dimple the parts. (It is a zillion times easier dimpling the skin with a person helping.)
While Dad and I deburred and dimpled, Cormac drilled out the rivets Ken had marked on the rudder. We replaced them and the skins were good to go.
Next, I worked on putting the rudder together. (It seems like we spend a week getting all the parts cut, drilled, dimpled, and deburred. Then, it takes just a bit to actually put them together. ) For all the rivets that needed bucked, we used our two person method. Dad ran the rivet gun while I bucked. I use a flashlight to look closely at each rivet head as we go. (It's easier to replace them while we are doing them the first time.) On the rudder there are a ton of rivets that can be squeezed. Dad would place the rivets in the hole and I'd do the squeezing. Again, if I take my time... it saves me having to drill them out.
The KEY TO SQUEEZING is to make sure both heads of the squeezer are lined up with the center of both heads of the rivet. If either is a bit cock-eyed, the rivet is squeezed crooked.
I also primed the left elevator parts today.
|
|

Me 'squeezing' the rivets on the rudder. (Skin to spar)
|
|

Dad, an expert rivet placer at work.
|
|
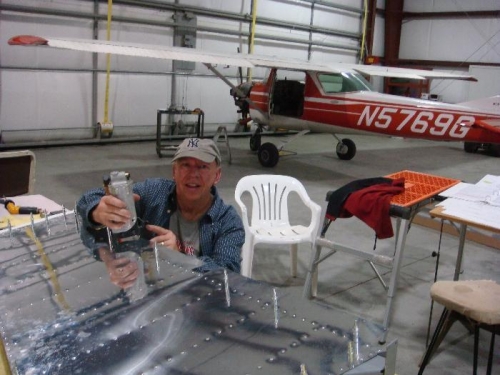
More squeezing - Notice the 150 getting ready for a 100 hour inspection
|
|
|
|
|
|
|
|
|
Copyright © 2001-2024 Matronics. All Rights Reserved.
|