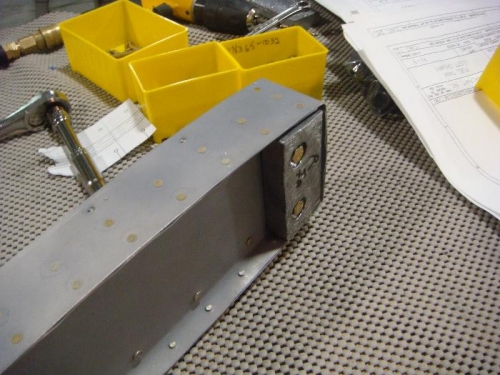
This evening I had a prior commitment so could only spend an hour at the hangar. I thought I'd finish up the counterweights for the elevators. It seemed very straight forward and (like an idiotI I dove right into the building. (Rather than spending a few extra minutes thinking through the fabrication.) Drawing 5 shows CLEARLY what to do, but I cut the big chunk off the wrong end on the first weigth. (I could probably re-drill the holes in the new location... but I think I'll just order a new weight from Van's. I haven't ordered any parts for almost a week:-)
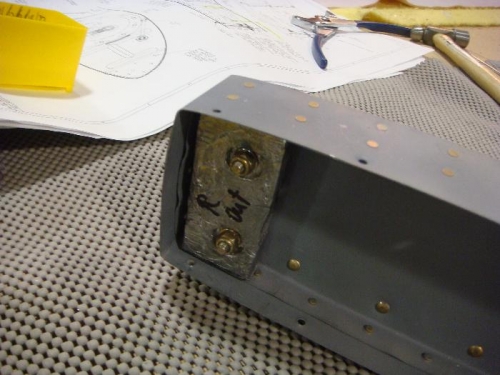
I used the bandsaw to cut the weights. (Cutting very slowly.) Then, drilled the hole out a bit and fit them into the opening. It took a bit of trimming to fit the weight around the rivets. I attached the right elevator to see how the counterweights work. In there current configuration, they easily OVER balance the weight of the elevator. The direction say to wait until everything is attached and even painted to complete the weights. They should be a bit heavy so you can drill away lead until they balance perfectly.
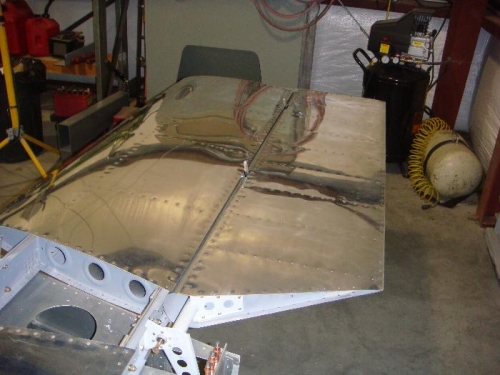
I'm planning on painting the plane AFTER the testing phase... so I guess I'd better use light paint.
Oh... if you are reading this BEFORE you fabricate the weights, remember to leave the aft side of the inside weight for the left elevator. (Due to the extra weight of the trim tab)