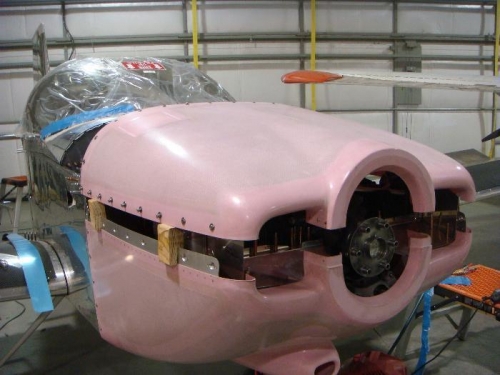
To make sure everything is fitting right, I decided to trim the top of the front baffling so I could install the top cowling for fitting. I think my idea for trimming is rather interesting... so I'll detail it a bit.
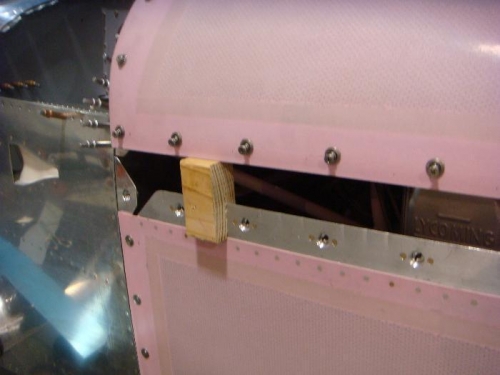
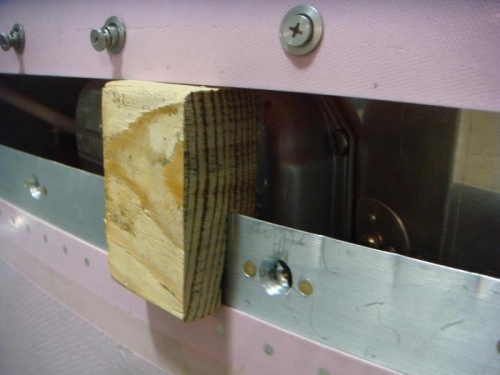
I raised the topo cowling by the height of a 2x4. I cut a groove in the 2x4 pieces so it would sit down to the top of the bottom cowling. (I just used a hand saw to make a slit.) Then I sat the top cowling on top of the 2x4 pieces. I used a level to make sure the front and the sides were lines up. Next, I cut a small piece of 2x4 to measure down from the inside of the cowling. I used a Sharpie marker to trace around the baffling using the small piece of 2x4 as a guide.
I ended up with a mark on the baffling that should be equal to the height of the cowling. I used tin snips to cut the baffling down to size. The fit was close. Some pieces needed more trimming and I had trimmed some pieces more than others. But, the final fit requires trimming down from the cowling 3/8 of an inch and I am WELL within that distance.
I am mulling over the best way to get an exact fittion on the baffling. I'm thinking of using clay to mold to the top of the cowl. I could put clay on the top of the baffling. Lay a piece of plastic over the clay, then put the cowling on. This should give me a mold of the cowling. I could measure down 3/8 of an inch and trim.