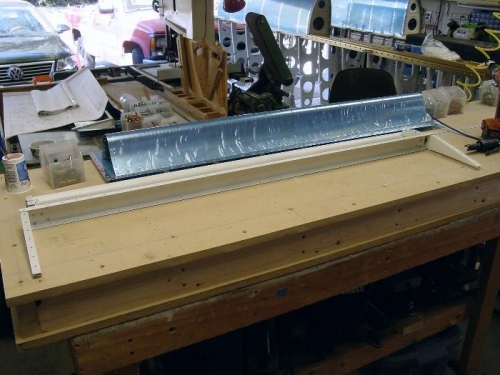
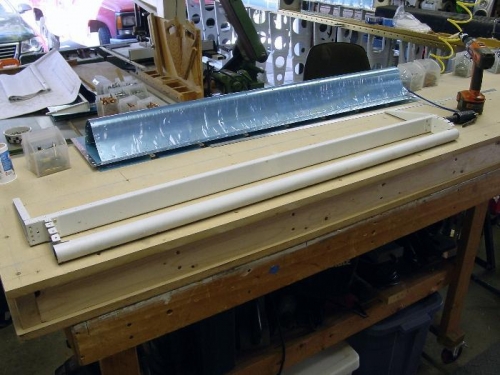
Back riveted stiffeners to the four aileron skins. Drilled the bottom skins of both ailerons to their respective spars and ribs, then deburred.
Proceeded to dimple left bottom skin and bottom of left spar. Manual sez 0.040 Alclad is better dimpled than machine csk, but there are instructions in the aileron section saying go ahead and machine csk to avoid distortion of the spar. I had already dimpled the left spar--there is a bit of waviness in the flange but not a ton of distortion. The depth of a csk for 3/32" rivets is 0.032, and one usually has to csk deeper to accept a dimple in an overlying skin. With < 0.008" of metal for the shop heads to form on, I elected to go with dimpling the spar.
Assembled the left aileron skeleton and attached the bottom skin to the ribs with two partially driven rivets, per the instructions. Clecoed on top skin, then the nose skin--tough to get that sucker on the first time! Weighted the top down with ziplock bags filled with sand (~70 lbs overall). Still had to tack aft inboard rib down with a clamp to the table.
Drilled all nose and top skin holes. (Except for the ctrwt tube. Just marked the hole locations with the drill so I could finish drilling them on the drill press.) AEX wedge on the TW was drilled and clecoed to the table. Will use the pro-seal trick to glue the TE before riveting to ensure a straight TE.
Took all apart, deburred and dimpled the skelton, riveted it together and called it a day.