With both tanks' goopy cap plates hardening, decided to start on the ailerons. Dressed the ends of the stainless steel counterweight tubes--nasty burrs on those guys. Drilled the reinforcement plates to the left aileron spar and drilled the holes for the nose ribs. Clecoed the RIGHT aileron's nose skin, UPSIDE DOWN, to the LEFT spar and LEFT nose ribs to locate the holes that attach the nose ribs to the spar. With the skin on upside down, you can snug up the counterweight tube to the nose ribs with the tube ends flush with the skin edge to make accurate marks. Drilled the 4 #30 holes in the left aileron counterweight tube.
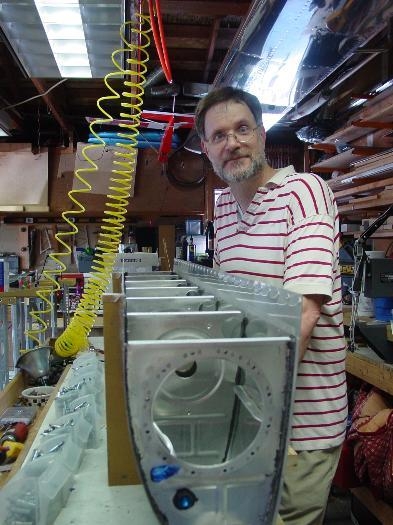
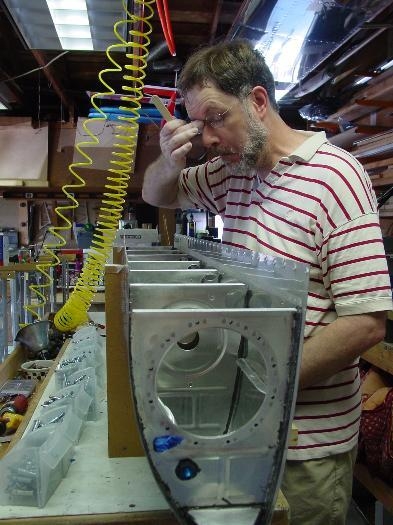
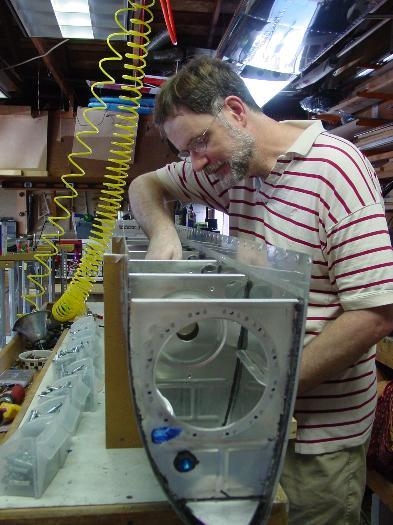
The pics are from earlier in the day...taken to show that yes, it's me that's building this puppy.