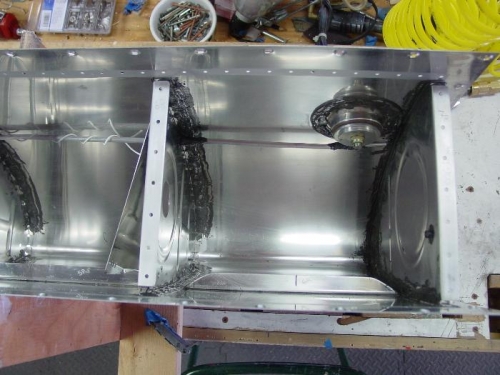
Daubed the shop heads of the left tank stiffener rivets with pro-seal goop. Then with a tongue depressor sanded down to a ~1/4" paddle, put in a fillet of goop between the ribs and skin on the side of the rib opposite the flange.
In principle, I didn't need to do this. The goop buttering and clecoing in place should have sealed the rivets against leaks. But there were several places where I could see daylight through flutes, and I just can't imagine how stupid I'd feel if I put the rear baffle on and have the damn things come up leaking.
So on went this extra insurance, to go along with the thorough gooping gave to the flange side. What's a little extra weight anyway...
Back to the right tank--installed it's inboard rib, and added the extra sealant to its inner ribs as for the left tank.
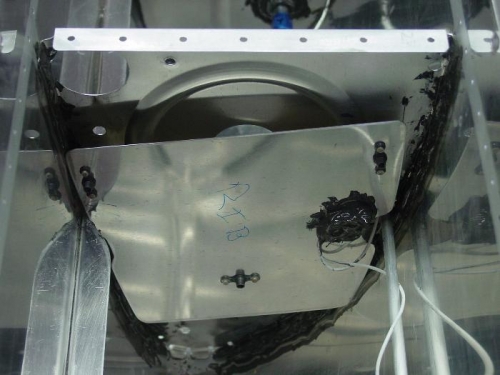
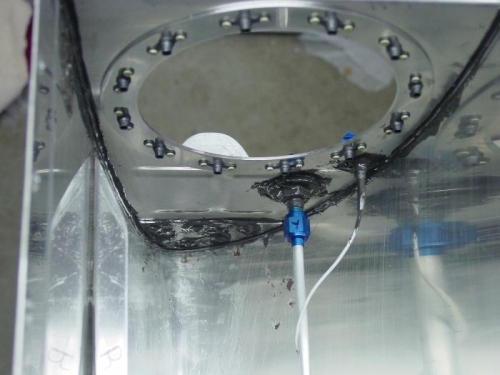
Installed the grommets and vent lines in both tanks (AN fitting torqued to 45 in-lb), as well as the wires for the capacitive fuel senders. Crimped on the ring terminals once the wires were run and bolted the wires to the plates. Gooped up the bolt and terminals at each plate per the instructions. Set both tanks aside to cure before I bolt the cap plates to the ribs.
Inboard cap plate, right tank
Inboard bay, right tank--T marks the AN fitting as torqued.