
|

|
|
|
Kurt Haller RV-9A
|
Date: 7-3-2007
|
Number of Hours: 2.50
|
Manual Reference: 7
|
Brief Description: Tanks
|
|
Mixed a batch of Proseal, took out right tank ribs one at a time, buttered the flanges, clecoed back into place (all but inboard rib). As I had done for the left tank, I put some tape across the top at each rib station to snug up the skin against the aft end of the ribs while the sealant cures.
Drilled the anti-rotation bracket rivet holes on the access plates out to #30. Installed AN470AD4-5 rivets "wet" with the last of the pro-seal batch. Had to buck rivet these puppies. Got a slight lifting of the AR bracket on one rivets. Bracket is mechanically solid, so rather than remove the rivet, will go back and slather on some extra sealant around the bracket where in meets the plate, in case the lifting broke the seal between the plate and AR bracket flange.
The 1st photo doesn't show that the stiffener rivets are in, but they are (done on 6/30). Still need to put a dollop of sealant on the shop heads. The 2nd photo shows how sealant needs to be applied to the outboard rib to stop the daylight (and eventuall, gas!) from coming through. In the 3rd photo, the filler neck sealant was put on the day before and it's still got the clecoes in the rivet holes.
|
|
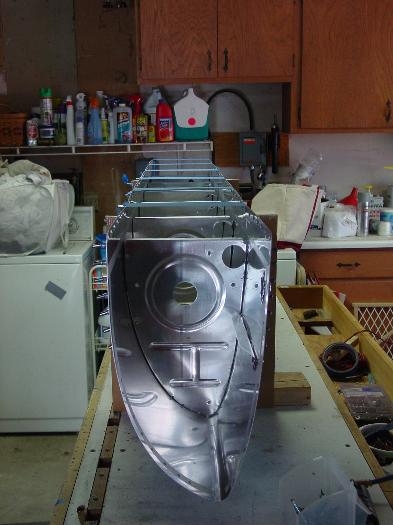
Right tank, inboard end
|
|
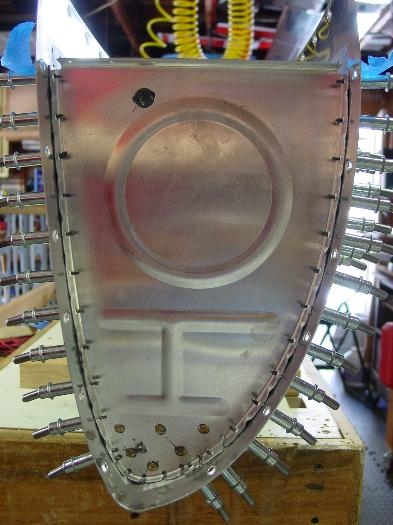
Right tank, outoard end
|
|
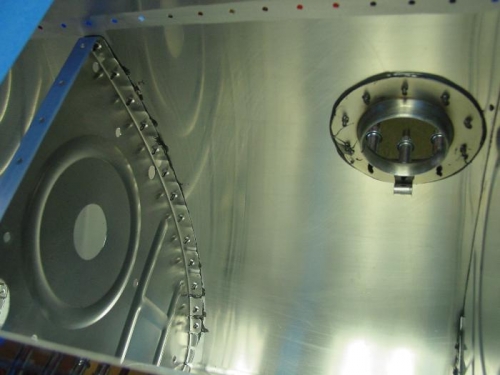
Outboard bay of right tank
|
|
|
|
|
|
|
|
|
Copyright © 2001-2024 Matronics. All Rights Reserved.
|