
|

|
|
|
Kurt Haller RV-9A
|
Date: 6-17-2019
|
Number of Hours: 0.00
|
Manual Reference:
|
Brief Description: Elevator counterweight rework II
|
|
Sequence of photos documenting putting elevator tips back together.
Image 1: Laid in 3 plies of 9 oz cloth on the inner edges of the cap. While still wet with the epoxy, positioned the cap back in place and tacked it down with painters tape (the blue stuff). I don't expext the bond to the (well sanded) inner sides of the tip, especially along the top where gravity probably sagged 50% of the cloth away from a good bond. But, once the epoxy cured, the cap was in place firmly enough to work with.
Image 2: I mixed up a small batch of runny-ish flox, and filled in the cutline between the cap and the tip, working the flox into the gap to contact the not-so-well-bonded inner layup. I then laid up two plies of 2" wide light fiberglass strips (1-2 oz cloth, used for RC model foam-core wings) over the seams, added a layer of peel ply, and let everything set up.
Image 3: Because the curve of the tip that remained attached to the elevator didn't match the curve of the cap, there were big joggles in the surface going over the joints. So I laid on a fairly thick layer of thoroughly thixotropic micro to be sure I had enough material to sand to shape in on go. Laying on "just enough" invariably leaves low spots, which require another batch of micro, but sandability from batch to batch isn't 100% the same. Better to go thick, accept a few voids in the roughly sanded surface, and spackle the resulting (small) craters with just a little more micro, the squeegee on a coat of undiluted epoxy.
|
|
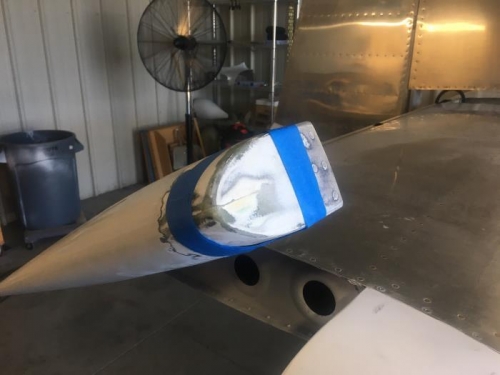
Cap back on
|
|
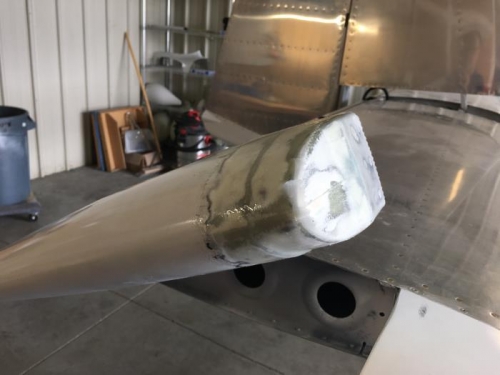
2 plies of 1-2 oz glass, peel ply stripped away
|
|
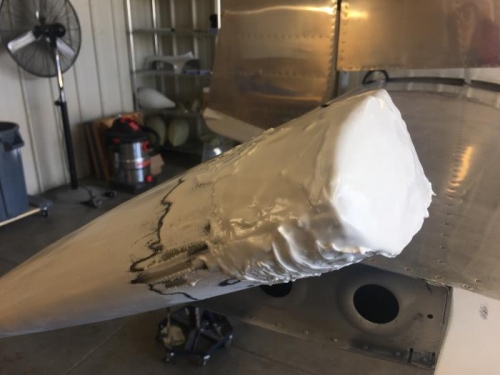
About 3/16" layer of micro curing...
|
|
|
|
|
|
|
|
|
Copyright © 2001-2025 Matronics. All Rights Reserved.
|