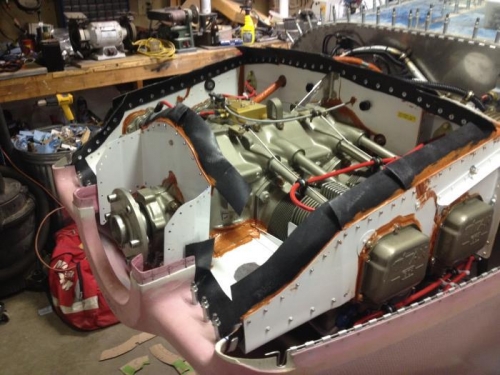
Entry written 29 August 2016. Pretty much completed Van's FWF kit baffling shown in image 1. Estimated time to install them, caulk the air leaks with red goo, install the air seal fabric, etc. is a total SWAG. I'm sure it took longer than one 40-work week. Two weeks may still be an underestimate.
Other than putting holes for control cables and purge valve return lines in the wrong place that had to be covered back up, installation was mostly a matter of following the directions carefully--and deciding where NOT to follow them so partial assemblies could be put on, fiddled with, and gotten back off the engine. The paper clip method worked well for setting the final height of the baffles.
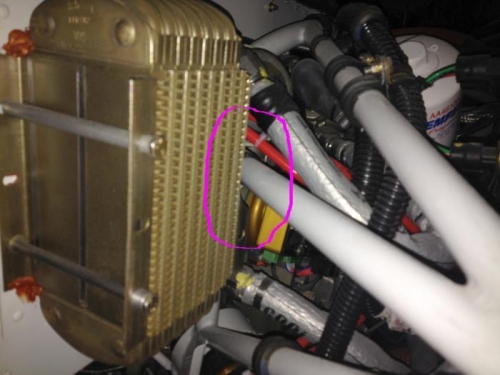
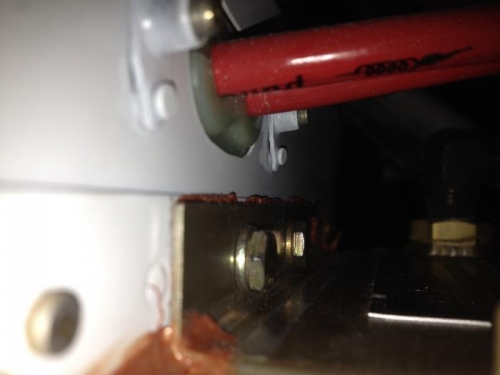
Trimming the aft inboard flange of the oil cooler for clearance from the engine mount weldment made the middle mounting hole disappear (image 2). Having previously trimmed the top part of the flange and its hole, there was no way to install a third long-bolt fastener in the inboard side to go with the two on the outboard side. The forward inboard flange has normal length bolts in two places attaching it to the rear baffle (image 3), where normally there would only be the one long bolt. This may put excessive stress on the rear baffle and lead to cracks...we'll see.
(Images 2 and 3 taken 29 August 2016.)
Baffling!
Had to trim away inboard middle hole!
Extra bolt at top of fwd inboard flange; regular bolt in the middle where long bolt usually goes.