Brief Description: Wing fairings-2 and flap fairing-1, flap install
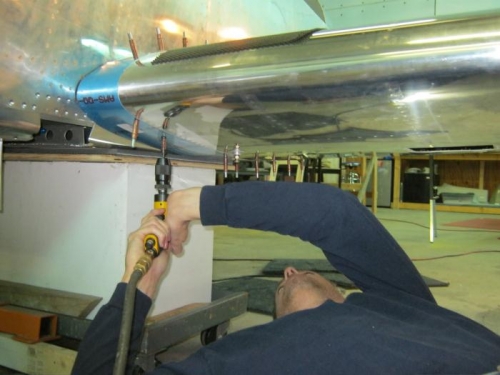
1. Drilled the wing skins where I marked the 1/4 reference line yesterday using the holes in the wing root airing holes as a guide.
2. Marked a line on the wing fairings 3/16" from the fuselage skin.
3. Removed the aft wing fairings and cut just inside the line previously marked and then polished down to the line. Also polished all the edges of the fairings
4. Applied some masking tape to the under side of the trailing edge of the upper wing skin so that the leading edge of the flaps won't get any more scratched than they already are. Installed the flaps and clamped in alignment with the ailerons. The inside edge is rubbing aainst the fuselage side skins and will need to be reieved some.
5. Removed the front wing root fairings and cut them just inside the 3/16" marks made. Again I polished the edge down to the line keeping it straight and smooth. Also polished all the edges. Removed the plastic protective vinyl and cleaned off the red paint markings and then reinstalled all the fairings.
6. Dug out the flap fairings and dusted off about a years worth of dust from sitting up on the shelf. Polished all the edges smooth
7. Study plans and drawings of how the flap fairings are to be installed. No luck yet. Will try to look into this some more later.
Drilling the wing skin using the holes in the fairing as guide
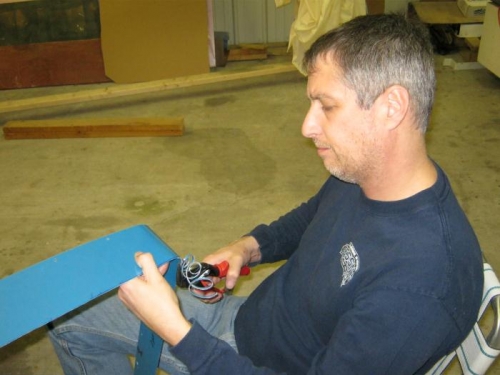
Trimming the fairing for 3/16 gap
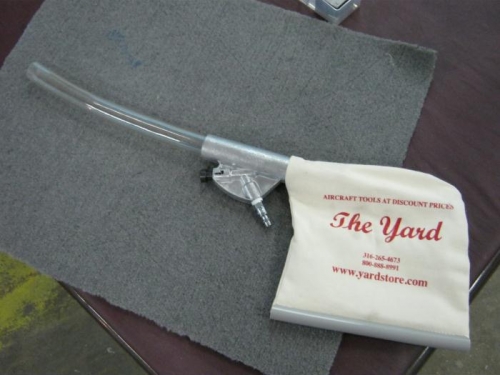
Neat vac that runs off the compressor. Great for getting them aluminum shavings!