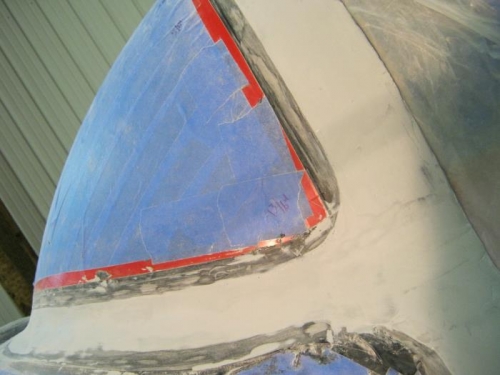
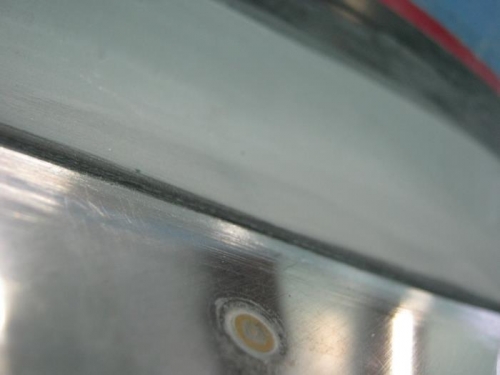
The 5.5 hours posted were accumulation of 3 work sessions. I started to concentrate my time to just the left side Basicly just spent hours trying to carefully sand the fairing edge down to the tape edge. The hard part of this is just finding the tape edge since it was covered with layups of epoxy and though I tried to keep that to a minimum, sanding down to the edge and keeping a crisp line aint easy. The pictures below begin to reveal this edge delima. My suggestion to anyone doing this is to use colored tape. I used red for first layer or two and then black for two layers. Problem! I used black pigment in my cloth and epoxy and therefore cant see the tape edge when sanding since everything is black. My gray shown is just skincoats basicly and sand to black quickly. Then I spend lots of time sanding and measuring and marking to find the edge to sand to. I started with sanding the edge down to the aluminum first to gain some practice before trying it on the acrylic side. You can see that I left a somewhat thick bullet nose edge. This was on purpose. I thought that would be a stronger edge and also I could feather it as needed to my taste later on. The edge is about the thickness of a popsicle stick in some areas and thinner in others but a defined edge thru out.
I will probably retape at some point and add a layer or two of straight epoxy and filler primer etc but for now I will continue to the other side like I did today and then work on the edge to the acrylic last.
Tape edge sanding getting better
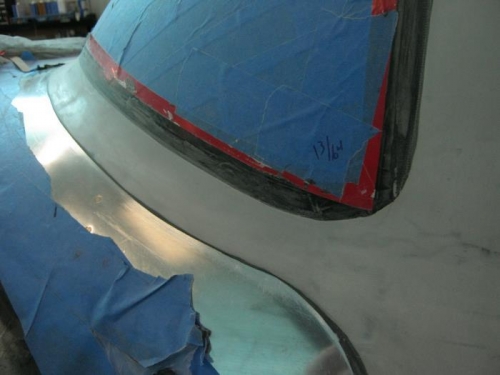
Botoom left windscreen to skin fairing edge thru 3 layers of vinyl tape