Brief Description: Canopy cut session 5-The Big Cut!
1. Two more trim iterations on each side so that the canopy can be clamped firmly against the bow without interferance with the top skin that slopes around the roll bar area. Sand and polish as before so many times.
2. I ended up with the canopy positioned 5/8" aft of refrence line. The refrence line is the most forward they want the canopy front edge not an absolute. It fits nicely where I have it so will leave it here.
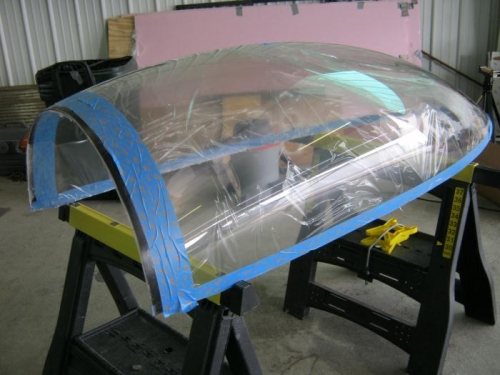
3. Taped and clamped the windscreen and fwd area of canopy in place after positioning my cardboard panel inbetween the roll and canopy frame bows.
4.Mask ed off along each edge of the cardboard panel with elec tape and then painters tape and made sure I had enough protection from accidental scratches from the dremel.
5. Marked my cut line path in between the tapes.
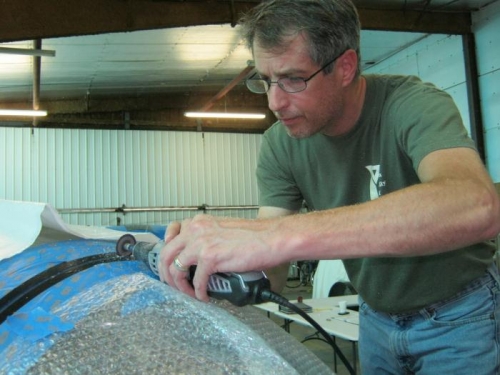
6. Made one single groove from end to end so that if a crack forms it will follow the groove-hopefully. Then as I cut through a small section, I put a strip of duct tape to help prevent any spring open effect and thus a nasty crack. This worked well for me as I finished the cut with out the cracks.
7. Start breathing again
8. sanded and polished up the cuts real smooth
9. Beer break!
Canopy taped for cut with the cardboard sandwiched-note cut dots
Cutting the wind screen off. Note the concentration and reading glasses