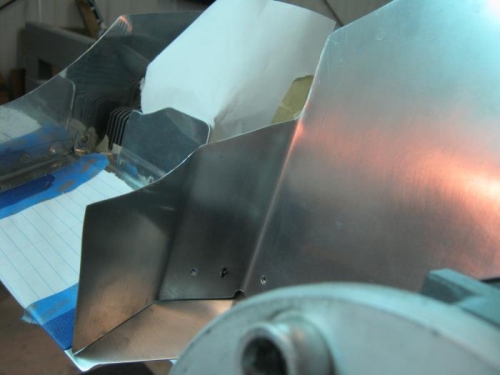
Brief Description: Finish Front baffle fit to upper inlet duct and mi
The first 45 min today resulted in the top cowl removed and installed 4 times and the bottom cowl 1 time. Takes patience and repitition for me to get these cuts done. If I had realized that these inlet ducts would be in the way of front baffle, I wouldnt have wasted as much time getting the front baffle cut to that 3/8 inch gap on the portion that bends in towards the cowl. Anyway, The cutting and fit process was the same as the other side and went better and with less dramatics and cursing.
The fit of baffle is about complete other than the redo of the oilcooler baffle. Hopefully that wont be so dramatic either since Ive done it once before and know what I need to accomplish. Ive placed the order for the parts and they should be here by Friday so that I can finish this up Saturday. I have also decided to delay installation of the baffle seal fabric because the cowl will be going on and off untill the final stages of build and I dont want the extra trouble of getting it on or off. I will rivit the final pieces together after the oil cooler is confirmed for fit but that shouldnt be a big deal.. I will then just leave in place ready for the fabric seal.
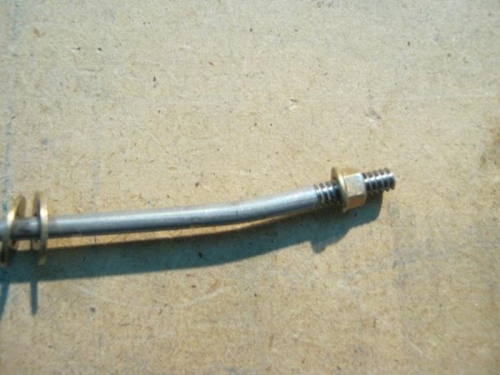
Theaded both enda of an inbd lower tesion rod after I tweaked the bends some. Used 6-28 coarse. I still have 3 more to go
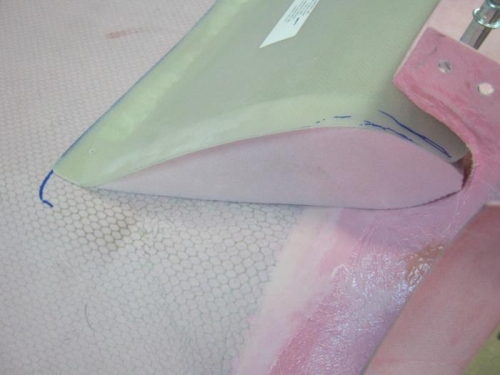
Brenda cut me some foam pieces to seal the inlet ducts on the inbd sides. The plan is to have them sealed so that air wont escape under those ducts to the obd edge and out the bottom. Probably not necessary to do this IF the seal is good around the front baffle, but Im not 100 percent pleased with how that is going and sealing these ducts will prevent accidental air loss.
Sand3ed the inlet duct where epoxy will be applied as well as the mating surface. Mixed epoxy with plenty of cotton flox and applied to mating surfaces and clecoed. Required 1 batch per side. I then cut some BID and wetted on wax paper and applied to the end over the foam and brushed smooth. Not taht the foam was set in 1/4 inch or so incase I need to trim for clear
right side front baffle trimmed with required 3/8 min gap to both the inlet duct and cowl
one inbd tension rod fitted and threaded to 6-28
sealed off inbd holes of the inlet ducts and then gleassed in.