Brief Description: Flap switch wiring 1 and removing some wire from v
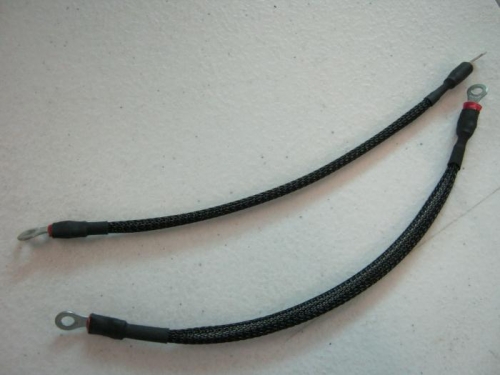
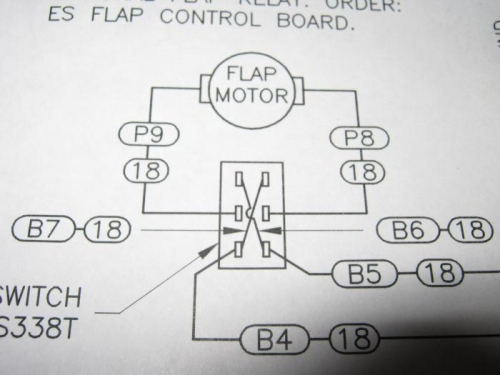
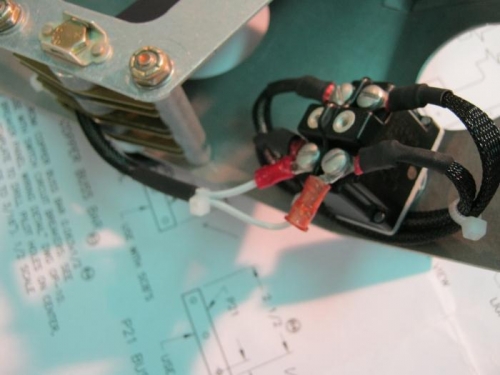
Flap switch wiring per dwg OP10. I used a switch from B & C instead of Van's but wired it the same as called out on OP10. I covered the wires in snake skin and secured with shrink tube and crimped on the tounge terminals each end. Wire is 18AWG. I also measured and cut two lengths of 18awg to run from the bottom lugs to the power panel on cross brace and the grounding stud. The center lugs are reserved for the 2 wires coming fwd from the flap motor.
After working it thru my head I decided on a route for the flap wire. Covered the wires with conduit. Strip the stick tape off the back of two plastic anchors and glued to the inside left lower skin with amazing goop. After it dries, I will secure the conduit to them and finish routing the wires to the switch.
Started removing the vans supplied wires for left position and strobe wires from the bundle. Required cutting off many zip ties and pulling the wires out. I got back to the switch console before calling it quits. I then cut excess wire for taxi and land lights and relabled.
Fabricated wires B6 and B7
Dwg OP10 depicting flap switch
Flap switch wired. Just need the flap motor wires to center lugs