Brief Description: Finish wiring intercom and wire lighting to instru
Yes 6 hours today. It was actually closer to 9 hours but I cant see posting that. It takes a long time when trying to wire up these things in the panel when you do it on the fly like I am. Plus it takes a long time when mistakes are mead.
Started off bad today. After calling stine air about my rs 232 serial wires that were included in the harness of both the radio and transponder, I decided I did not need them and would cut them off and label. WELL.... Thats great until I cut the wrong cable!! I cut my shielded cable for audio from the radio comm!! Not good...... I spent hours probably fixing that mistake and I wont know how well I did untill I can power up and test. I basicly spliced what I cut off back on. I soldered the two wires together and covered in shrink tube. I then pulled the shield braide back over from each end and also added some extra shield to both ends before covering with more shrink tube. I hope it works ok.
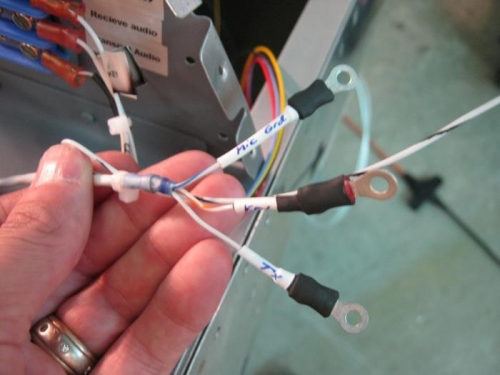
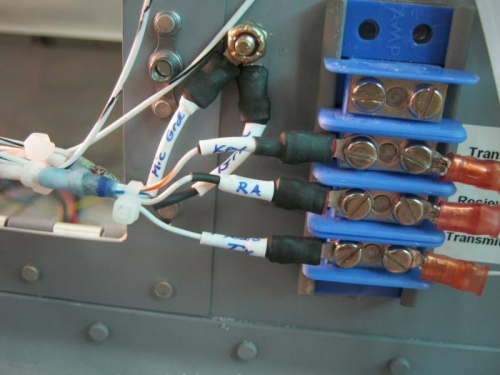
I then connectorixed the audio, audio transmit, and the key wires and labeled and attached to the intercom term block. I then drilled a grounding point and connected to ground wires. One for transmit and one for audio. I also preparred the shied on each wire cable with a solder sleeve and pig tail. I did not connect them at this time because I think they were to only be connected at the case and thus not at both ends. I will need to check on this. Meanwhile I can connect them if needed otherwise I will clip off the pig tails if not needed.
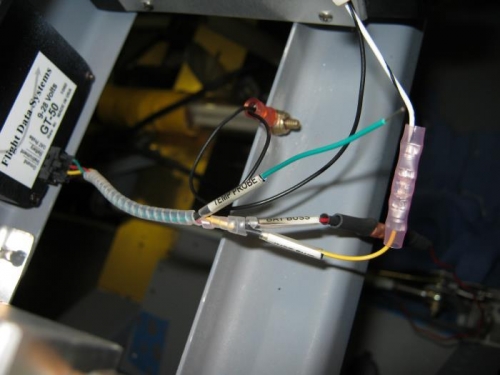
I started to wire up the GT50 timer and accelerameteor as well as routing the instrument lighting wires and then connecting them up. This took a long time as I wanted them secured somehow and decided to try adel clamps and such. That took for ever to get installed due to the tight space. No pics on this but they are on the garmoin 696 mount right side as I did on the left side. Right side much more difficult to get to!
I did a function test by hooking battery to the dimmer pot and then tighting all the lighting power leads to the dimmer post a
Transmit wiring from SL40. Note the solder sleve for the shield ground
Transmit and audio from radio to term block for intercom