Brief Description: wired the thre warning lights and most of the dimm
I cant believe how long I spent on this. Much time spent deciding on wire length and route as well as how I plan to do it. With me...thats a long process! No t pictured below is what I started with today and that was connectorizing the wire from USB and aft auxillary ports and then connecting them to the battery hot buss
Also not pictured is the for wire harness from my electric accelerametor/timer that I prepped for hooking up. I labeled each wire on it so Ill have an easier time when I get to it next
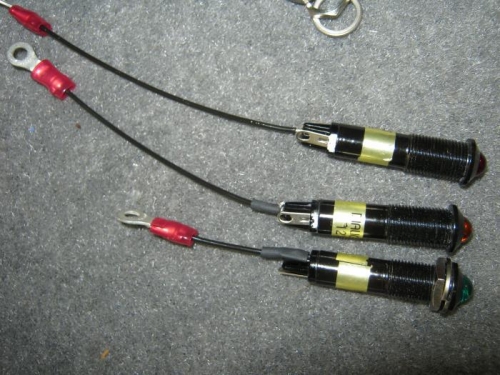
I soldered 3 seperate ground wires for the 3 warning lights and attached ring connectors
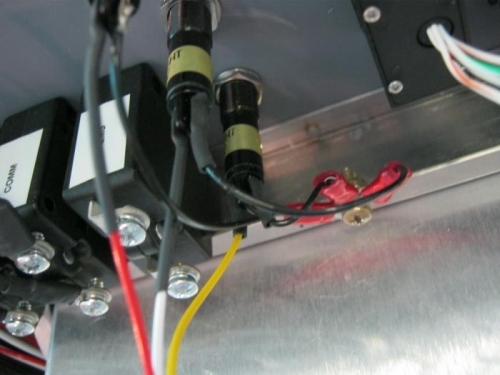
Decided on grounding location to be the upper mount of the EMS and drilled it for a number 6 screw
soldered on power leads to other tang of each warn light and installed d-sub barrel pins
Installed the lights back into the pannel.
Yellow wire is to the fuel pump power circuit and is connected via dsub. IIT will illuminate when pump is on. Red wire is for red light and is for low oil pressure/ master switch left on. It is not powered up yet. White wire is the amber light and is somewhat undecided still. Might hook in to the EMS for general warnings or something.
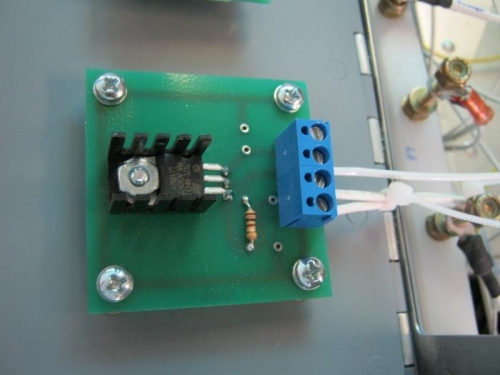
Mostly wired the panel dimmer pot. I will finish with the power wire from nav light post later. Still ned to run a bunc of wires fro the panel light to the dimmer post to call complete.