Brief Description: Propeller blade cut outs in spinner and misc
Main job today was getting the blade relief cuts made into the spinner I approached this slow and carefully and thus took quite awhile to do. I first used a cloth measureing tape to make marks on the rear spinner bulk plate so that I had refrence points 180 degrees from each other and also a second set. This means I did 4 equal marks around the plate. The spinner is thick enough that doing the same thing on it means there was an additional 1 cm to the c ircumfrence and that had to be divided evenly top match the plate just done.
I didnt have a copycat contour gage from hardware store that was deep enough to work so I just "wag'ed" it with what I could on to some contruction card stock I cut 5X5 square and inserted the curve best I could. I then trimmed with cissors slowly to get a close fit and added tape where the gap was too much. Once I had a tight fit with the card template, I taped it in place on the bulkheadfs with spinner off and marked the position of the template to the rear bulk plate and measured from a refrence mark to the edge of the card stock.
Transferred the card template to the spinner by measuring from the ref mark on the spinner that matched the bulk plate made earlier when I made the 4 quad marks. Then taped the template on and traced the cut out.
The other side was done the same way just by flipping the template over and upside down and lined up to the other 180 degree ref mark and same distance to the card edge. traced that cut out.
Cut ourt the blade notches with a dremmel making the first cut well inside my marks. I then slowly enlarged the cut outs from side to side with file and corse paper until it fit. Once fitting on, I used a drill bit as a gauge to mark 3/32 gap from the propeller edge and then would sand and or file and test fit again.
I eventually could pres the spinner on over the two bulk plates firmly and without hitting the propeller. This means the plates are snugging up tight inside the spinner. At that point I was somewhat satisfied with thew gap around th
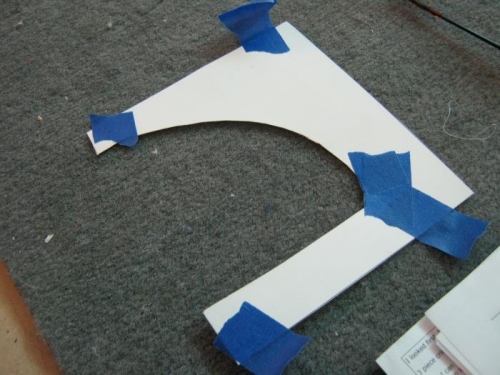
Propeller blade template for spinner
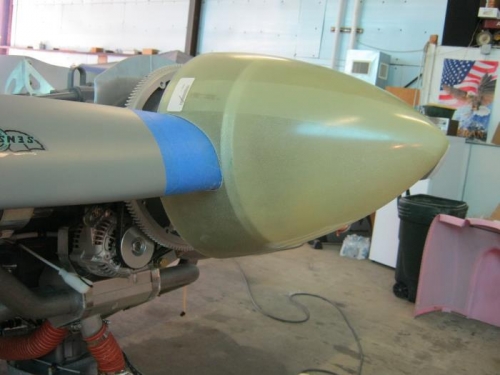
Spinner cut and sanded for tight fit at start
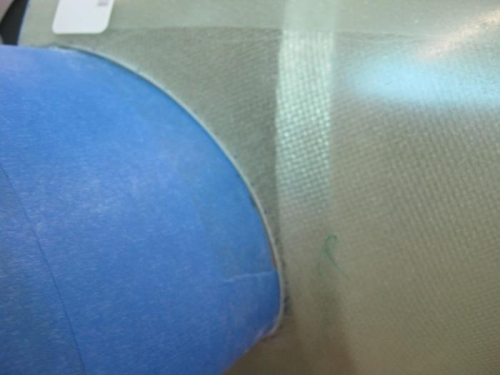
Spinner on and then 1/16 to 1/8 relief marks made and then enlarged to them