Brief Description: Filling skirt gaps-almost there
1. Yesterday I finished by applying a bead of epoxy under the rt side aft part in the curve. Today I pulled open the canopy and cut off excess, filed, and sanded the edge and top and bottom surfaces. Closed canopy and the fit is real good.
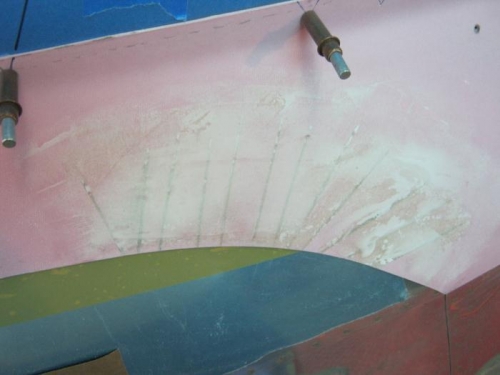
2. I found the right skirt. It was hiding under a table at dark side of the hangar! I think it heard the screams coming from the right skirt. Babay!! Anyway, I flipped the sucker over and sanded the underside with 80 grit on orbital sander because It was still rough from the epoxy and bid I applied last year. I sanded the skirt on inside. Flipped it over and hit the area with all the vertical cuts and smoothed it out.
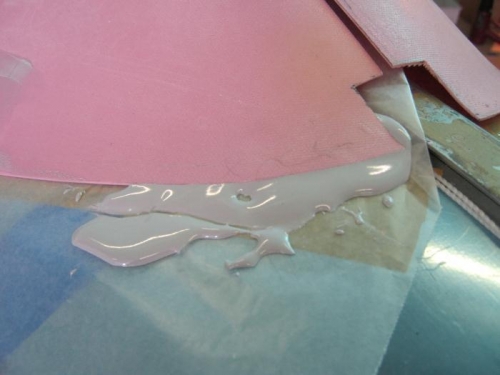
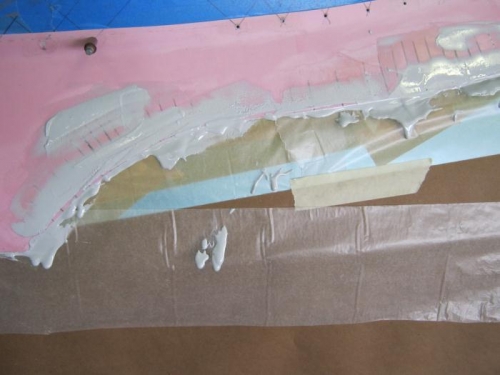
3. Clecoed left skirt to canopy and checked remaining gaps. Taped up wax paper the length of this skirt. Made a batch of micro and experimenting with some westsystems grey pigment. Just a small squirt realy works! Made this batch penutbutter consistency and applied all along the lower inside edge and the curve. Even a blob under the aft end by the rail. Filled some voids in the slits with a thin layer.
So far this grey pigment might only be good for original layups of glass but if its applied in a thin layer, the pink will still show thru. So its probably not a great way to hide the pink. Paint primer might be better here
Session1/2
Rt skirt gaps mostly done and sanded
Left skirt inside lower aft end filled
Left skirt underside filled and closed to squeeze out excess