i HAD BENT THE REAR BAGGAGE SHELF WHENI LEANED ON IT TRYING TO CLEan behind it in the belly of fuse. It wasnt secured and slipped of the longeron and bent some. So I hammered out the dent from the other side with rivit gun on low power and then primered again. Its still visible but not when installed. I might try some sanding primer tomorrow.
I removed the cross brace on floor just forward of rear stick. I forget the part number but it also supports the control column. I had primered it a green color early on and just decided I could not live with it. I painted over it with the NAPA grey that Ive been using everywhere else.
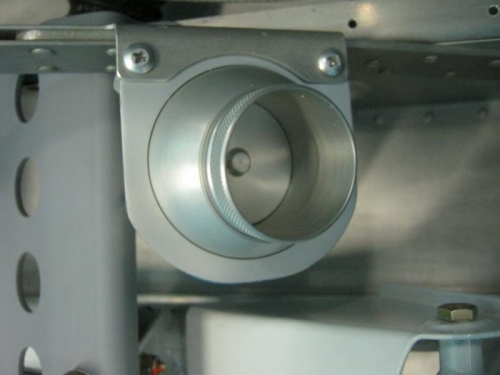
Removed the cheap Vans supplied air vent for rear seat and installed a nice aluminum one like I will have in front panel. This required cut two mounting ears off one side and then sanding and buffing to a clean fit. I then used amazing goop this time instead of blue RTV to seal the rear plastic reducer to the vent and then installed in plane. This made the GIB very happy!
Crawled in the tail some and took up alot of slack in the cable that goes from the ELT to the dash indicator. IT came with about10 extra feet of length not needed. I decided to tie it up back near the ELT.After I finished I think the rudder cable runs to close to the bundle. I will look at it again tomorrow or when its cooler.
Gibs aluminum air vent cut,polished and installed. Note the painted brace to left
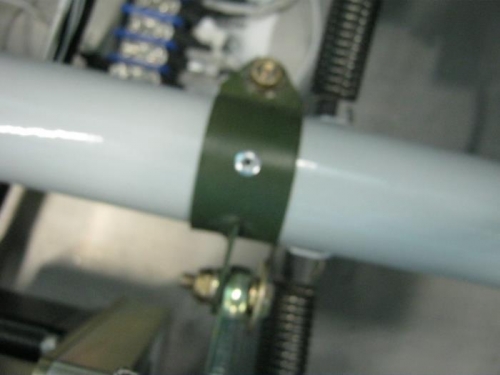
Rivit installed in the autopilot control tube clamp