Brief Description: installing instruments into panel and prep for wir
Some unplanned work happened today. I was going to simply set the instuments in the panel and start wiring but that didnt happen. When I was installing the Auto pilot head, I had big time interference with some aluminum angle. I apparently messed up early on and didnt catch it until now. I used a drill bit with drill stop and after marking the cut out necessary for fit, I drilled the corner radius and then followed with my trusty dremel slowly cutting until able to remove the corner of angle with only minor scratching to back of panel. I followed with grinding stones and then some touch up primer.
When I got to My airspeed indicator, I wanted to add a post light to it since Its one of only two gages that are not internally lit. The other one is my VSI. Anyway, the post light is #8-32 and would not screw into the ez mount ring I was using for the gage. Sooooo, Removed the ring and drilled the ring. I had to remove a spacer in the front because the post screw wasnt long enough, I then had to grind down the plastic connector so that it would screw on to the back far enough to make electrical contact. Finally got it done and tested with battery to verify.
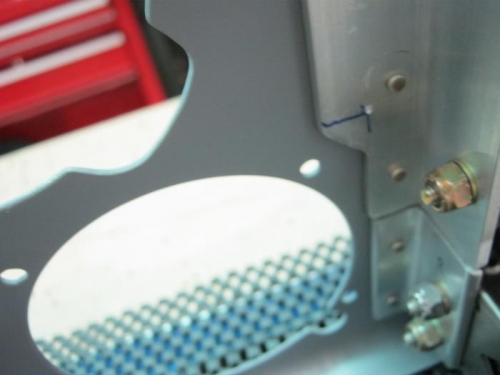
The back view of panel and area requiring removal marked
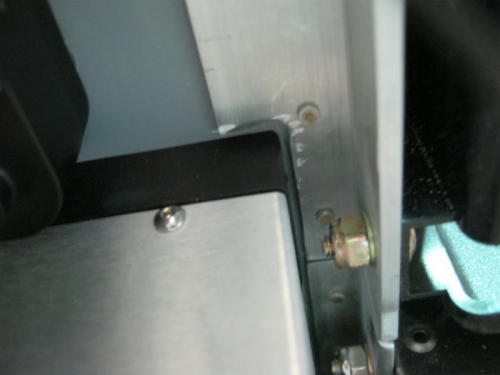
removed some angle and instrument fits now
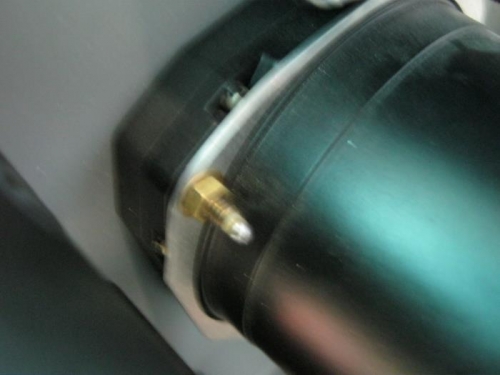
Post light for the ASI. It swivels up and can illuminate VSI if needed too