Brief Description: rivits in side skin, tank bracket, fuel line marke
1. While Brenda removed the vinyl from the back of instrument panel and finished the deburing on the back side, I was on the internet for about an hour. Ended up ordering the hardware and instrument nutplate rings for easy install and removal of the steam gauges that dont have built in brass nut inserts. I needed 3 rings and some stainless steel balck anodized panhead screws. Then off to Avery for some of the small 1 inch scotchbrite wheels. Then off to gulfcoast avionics where I ordered the package deal for a Garmin SL40 radio, Garmin 327 transponder with encoder, and garmin 696 GPS with air gizzmo panel mount. When these goodies arrive I will have some more panel layups to make and then cutting.
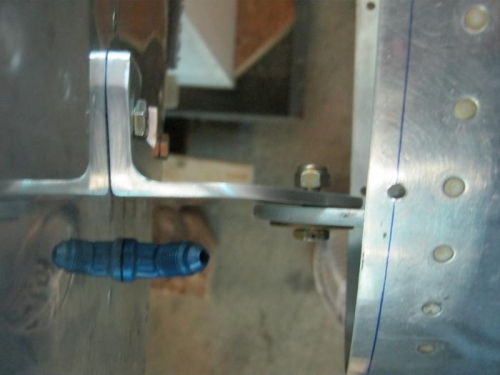
2. The Left wing tank attach bracket after I installed before did not lay flush against the tank side bracket so I removed it and proceeded to tweek it ever so gently with my 5 pound sledge hammer and vice. after several itterations, I finally got it close enough. The photo below shows a very small gap and its not as nice as the fit on rt wing but it coses up nicely with very little torque on the nut.
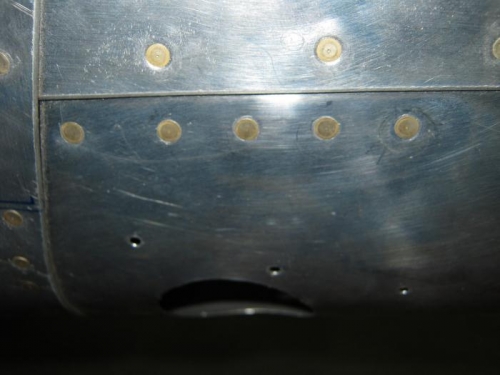
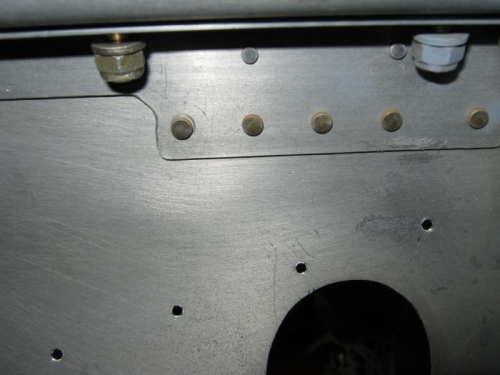
3. There are 5 prepunched holes on each side of the fuse just above the flap fairings. Thes are not needed for the RV8 tail dragger and ned to be filled. I reemed them #30 for 1/8 rivits. I cant dimple them because there is a flange behind that makes it too thick so I opted for machine countersinking just enough to fit a NAS rivits (aka oops rivits) that have the undersized heads. This ended up working out real nice. On the left side, I could just squeeze the rivits by gaining acess through the hole cut in skin for the rv8A step. Easy peasy! But the right side requires a helper. I put my trusty bucking babe in the fuselage with the titanium bucking bar and we pounded dem rivits!.
4. I reinstalled the fuel valve. This was removed earlier so I could pound out the bolts in the ceter spar section from shipping without risking hitting any fuel lines. I could now put the line from the valve to the tank in place for mark
Left side tank attach bracket reworked for better fit