Brief Description: Mount front and back map lights
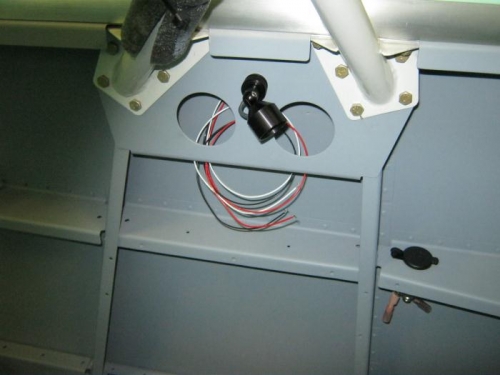
I have two maplight/interior light fixtures that illuminate red or white depending on switch position. I decided to mount the rear seat light on the right side just below the front seat shoulder harness bar attach point. The light will swivel in 2 axis. I drilled the mounting hole with a unibit to 1/2 inch, debured and mounted the lamp. Wire run and switch location not yet determined
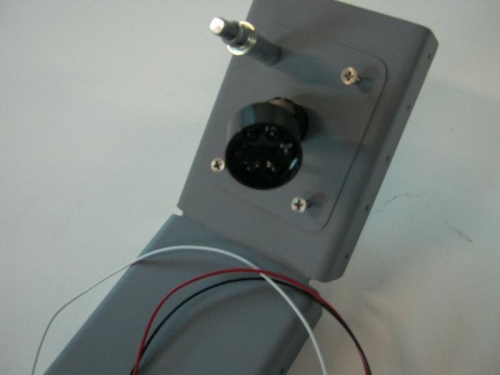
The same type light is used in front. I decided to stay on right side again. I picked the top portion of the bulkhead cover to mount. Since the cover is to be rivited in place, A way to replace the lamp if required needs to be done first. I made a template for a lamp plate that can be removed from the bulkhead cover with the light fixture. After making the template, I center punced the screw locations thru the template to the cover as well as the center hole for the lamp. I clamped the cover in place and drilled the 4 corner holes for #6 screw and clecoed as I went. I Drilled the center hole with unibit to 1/2 inch and removed the cover for deburring.
I used the nutplate jig for each corner hole to drill platenut mounting holes to #40. Countersunk for Nas undersized rivit heads, and installed the platenuts with the flush rivits. Now we can crew on the coverplate and light assembly. The nut that secures the light body to the plate is bigger than the hole drilled in the bulkhead cover so I enlarged that hole with the unibit for fit.
Lightly sanded and cleaned and primered.
Gib's map light mounted
Pilots map light. Note nut fits inside the hole in bulkhead cover