Brief Description: Adjust and reinstall flap actuator weldment
I needed to remove the flap actuator weldment so that I could set the rivits in that area. While I had it off I decided to see if I could adjust the nylon blocks so that it would swing more freely. I also wanted to make a relief on seatbelt bracket so that the bolts will clear better.
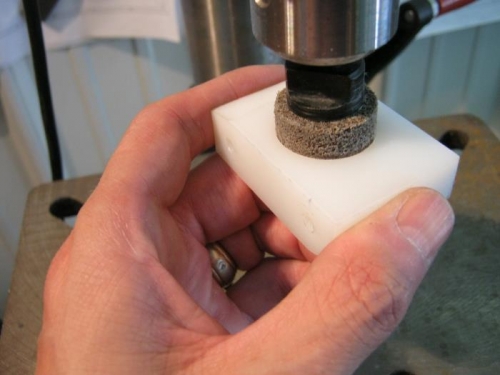
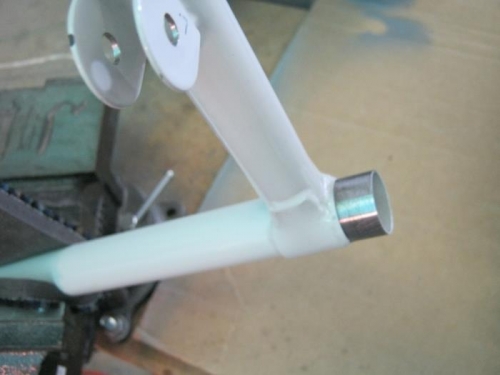
With the weldment removed, I sanded and smoothed the cup in each nylon block untill it spun on weldment bar smoothly. I then sanded the bar ends with emry paper. Applied coat of lithium grease.
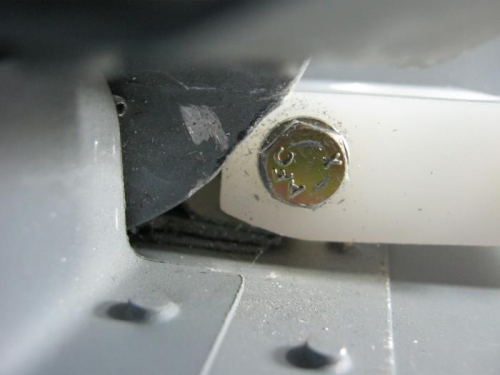
Used dremmel and grinding bit to reach into the tight space of rear lap belt brackets to grind a little relief for the bolts that secure the flap weldment. It didnt take much to make a world of dfference but took awhile because of dificulty reaching the area. When done I sanded and smoothed the area
reinstalled the weldment and end blocks and tested. Better but not as smooth as I hoped. Should be good enough..
Temp install left and right cabin covers in back seat area
installed back seat back again
grinded relief to rear lap seat belt bracket
smooth out cup in flap actuator weldment end caps for free movement