Brief Description: Center section bolts, Left flap trim, fairings dim
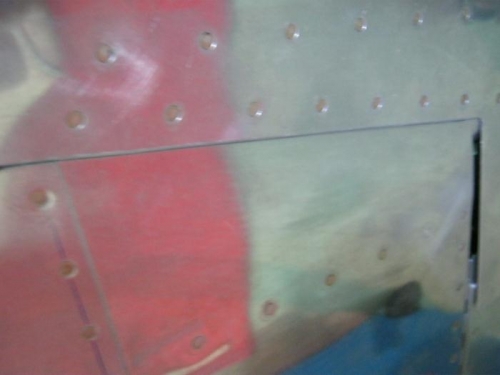
1. With left flap removed, I trimed , filed, refit, more file, fit again etcc etc until fit desired achieved. 2. Marked dill dimple and rivit the bootom skin as done yesterday on rt flap. Bend the inbd edge some to help close the gap when retracted.
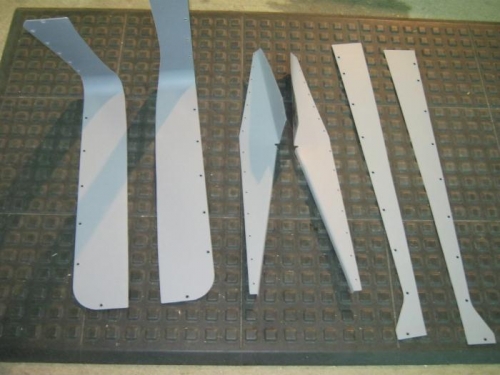
3. Clean and scuff the wing and flap fairings. Dimpled the screw holes with #8 dimple die. Primered the undersides with NAPA 7220. The flap fairings were dimpled with #40 dimple die set
4. ***Removed the wings from fuselage**** kinda sad to do this but must be done. I have one wing in the cradle and the other on the benches so it can be worked on.
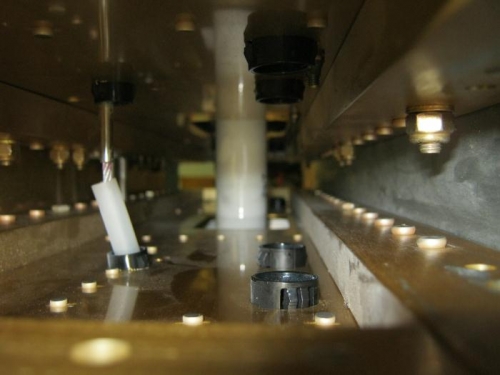
5. I taped an extension to a wrench so that we can reach far in to the center section. Installed the 12 AN4-12 bolts in the front side of center section as shown in dwg64. I have heard that the An4-11 bolts are too short when an extra washer is installed on each bolt. So I had purchased AN4-12 bolts so that a washer could be placed under the bolt head and under the nut. This is necessary since the bolts will be torqued from bolt head instead of the nut. The nuts can not be reached with a torque wrench. With Brenda's help, we got it done in just under 2 hours. Yay! Torqued to upper end of limits at 70 inch pounds.
Left flap bottom inbd skin trimmed, filed and polished to fit