First task was to finish sanding the nylon friction plates in those 2 places that were grabing some. Got them to a nice smooth action
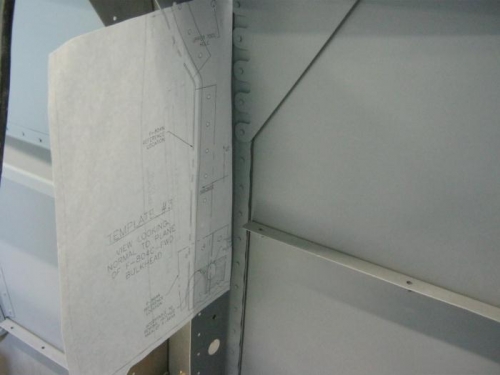
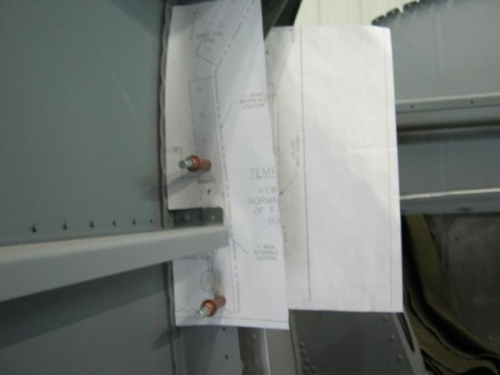
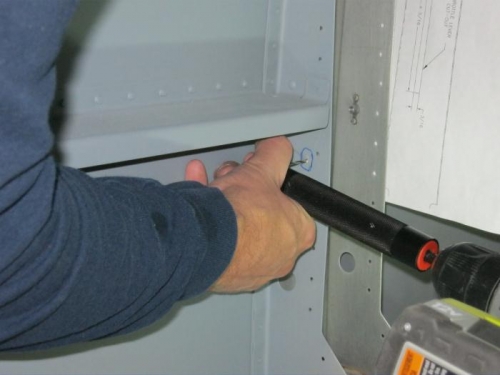
2. Cut out the provided templates and attached them to the appropriate bulkhead. Punched center holes and drilled pilot and then 1/4 inch.
3. Attached a line tp the rear throttle using the bolt for the rod end bearing and 4 washers to simulate the thickness of the bearing. Rand the string line forward through the drilled holes
4. The front Throttle assembly need to be installed as well to get a straight line throttle to throttle. I bolted on my 2 lever (no constant speed prop) delux throttle assembly to the mount bracket and the problems became apparent. It seems vans assumes everyone will install constant speed prop i guess because that 3rd lever is where the string comes out to but in my case its the rear bracket plate and not the lever-about 1/2 inch further outboard. I would of thought they could have sent the needed spacers and longer bolts so that it would line up for us 2 lever folks! But since they did not, I need to order longer bolts and make 1/2 inc spacers so that the throttle assemby can move obd 1/2" and thus line up with the template drilled holes.
5. marked the starter hole in the front mounting bracket and drilled too.
A lot of time was spent taking apart the front throttle assembly so that the bolts could be measured as well as the spacers that came with it. Now I just have to think on what I can use as a good spacer and also where to buy the AN bolts. Im getting irritated with the constant small orders from Vans. Need to find a closer store for needed hardware.