Brief Description: Flap blocks, rear seat belt anchors, nut plates
1. Got some touch up pearl grey paint from Van's so I touched up some scratched areas. Blends well and looks pretty good.
2. Put some protection foam on seat belt and front seat back bar
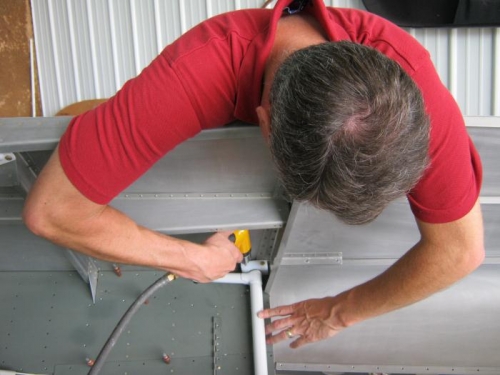
3. Used my #10 bit to final drill the flap actuator blocks in the drill press. I then clecoed in the left and right floor boards, set the flap blocks in position and temporaily bolted them down using the rear holes, and then match drilled the front hole in each block to longeron with #12 bit.
4. Removed floors again and the blocks and deburred. Used a nut plate jig and drilled for flush rivits for nut plate on the fwd hole just drilled in flap blocks. Counter sink, deburr, rivit.
5. Removed the console on right side and the throttle mount on the left to allow for drilling the holes in mid cabin panels. Drilled those holes. Marked the hole for fuel lever on left side mid cabin panel. Removed panels and deburred. Installed nut plates on both sides as required using same procedure previously described.
6. Used step drill bit to drill the previously marked hole location for fuel lever. Step drilled to 3/8.
Match drilling the flap blocks to longeron
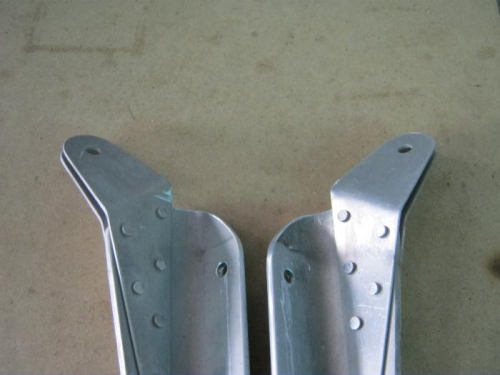
Rounded off corners of seat belt anchors for more bolt clearence on flap block
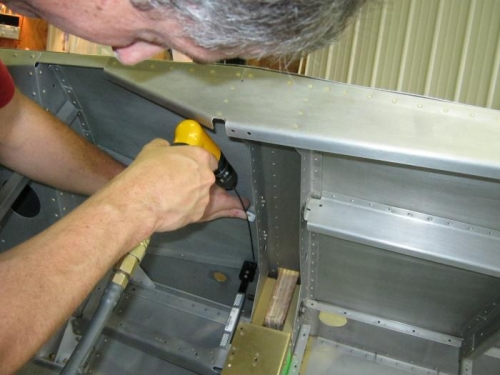
Using long #40 drill bit and flexing it into tight quarters to drill the nut plate rivits