Brief Description: NACA vent install and Tank attach bracket
1. Traced a paper template of the NACA sir intake vent and transfered to the bottom of the right wing. Marked where I wanted the rivit holes to be and then drilled them with #40. I marked a center line on the bottom flange of the NACA vent and put the vent inside the wing and positioned. Match drilled. Removed, deburred, dimple skin, machine countersunk the naca vent flange.
2. Fabricated small aluminum metal strips for the top of the flange so the solid rivits wont sink into the nylon vent went squeezed.
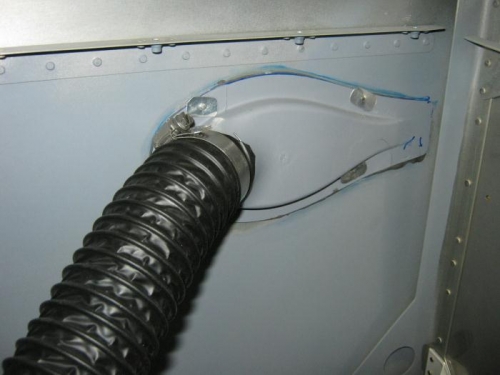
3. Mixed up 1.5 ounces of proseal and applied to both NACA vent flanges and then clecoed the vents in place in wing inlet and left front fuselage
4. Riveted with flush rivits and the aluminum strips
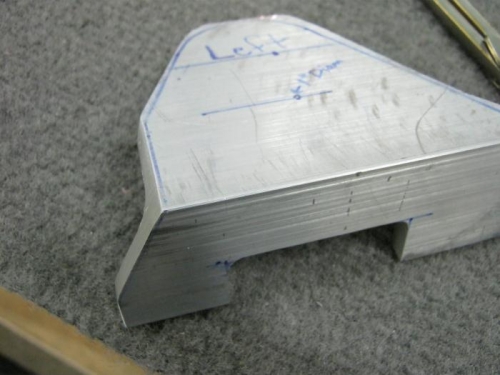
Tank Attach bracket fabrication: 1.Marked the cut lines on AC-150X2X4 channel using drawing 80 as the refrence 2.Cut out the right side tank attach f-863-1. This took quite awille with hack saw and makes me wish I had purchased a bansaw. Filed down to the line and polished. Did only about half the bracket before calling it quits.
NACA vent in wing presealed and rivited
NACA vent in fuselage prosealed and rivited. Note the aluminum strips.