Brief Description: Stall warner final assembly/instal (minus power su
1. Attached the two terminals to a 31/2 inch ground wire and crimpped. Decided I wiould wait to do the power wire after I buy a proper crimper.
2.I nstalled the stall warner bracket inside wing using solid rivits instead of the oprional pop rivits. It was a difficult reach but got pretty good results.
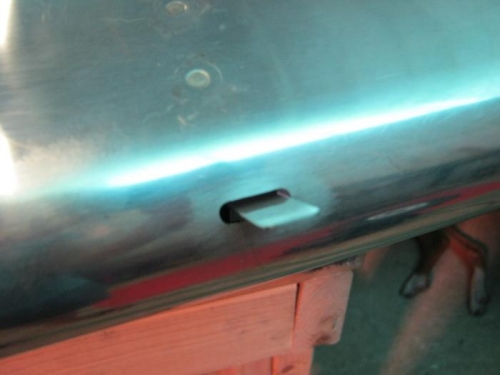
3. Installed the stall warner assembly to the bracket with two allen head machine screws and adjusted the angle of the stall vane to a minimum travel for activation.
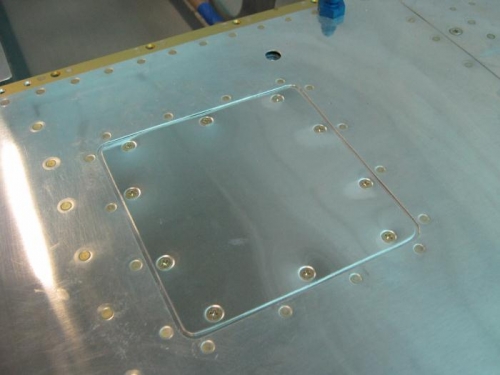
4.Rivited on the hatch plate doubler to inside hatch lip and then screwed om the access cover.
The 18 awg wire is 8 foot long and was run from the wing root to inside the acces hatch. When crimper is in hand , I will go ahead and attach that wire to the stall switch.
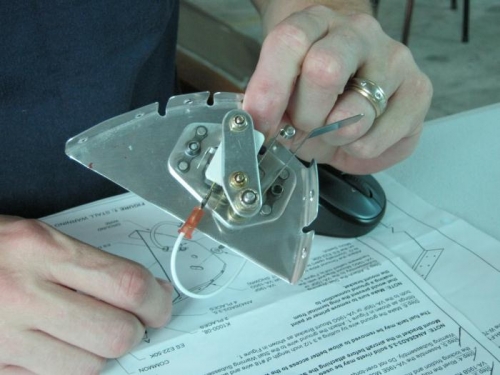
Stall warner sub assembly dry fitted to the bracket. See the ground wire and terminal end?
Stall vane adjusted to good starting point and sub assembly tightened down to the bracket that was riv