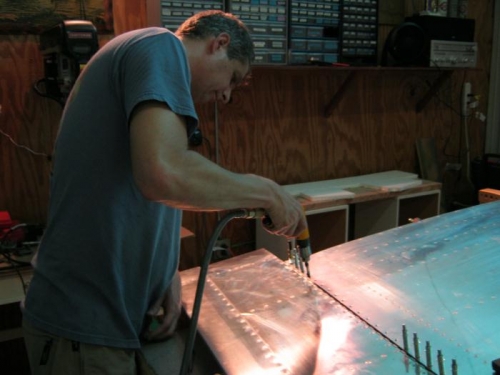
Clamped the left flap to wing and lined up the trailing edge with the aileron which is already set in neutral position and lined up with the center cord line jig. Once lined up and 1/4 inch gap from aileron set, I marked the edges and corners of hinge from the flap brace. also marked some hole locations so I could draw a refrence line down the hinge. This refrence line was 7/32nds inch from edge and meets the edge distance requirements. Double checked everything and then match drilled the hinge and clecoed as I went. Removed the hinge halves and flap to deburr all.
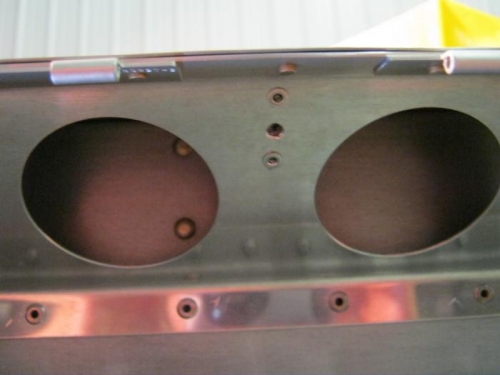
Cut 2 eyelets from wing side piano hinge and 1 eyelet from the flap side hinge. measured the length needed to go aprox 1/2 way down flap and end between two lightning holes in the flap brace. The eyelets were removed here and the hinge pin was cut with enough excess so that a 90 degree bend under the flange and about a 45 degree bend down the brace to the secure point. Installed a platenut inbetween two lightening holes with pop rivits and a numer 6 screw that will secure the two eyelets cut off previously that will end up holding the hinge pin ends. pictures realy describe this better.
Match drilling the flap hinge to the flap brace
Plate nut holes drilled at aprox center location along flap hinge