Brief Description: Drill HS top side for 10 platenuts for emp fairing
I had previously drilled the empenage fairing to the VS and HS Holes left open while building those componets. All the holes were #40 and dimpled and then skin rivited down to the rib. The instructions at that time only said to leave open which I did. But, I assumed they needed to be dimpled like the others. Wrong! More on that in a minute. Those fairing attach points were then up drilled to #6 for screws. So on to todays activity: Used plate nut jig and drilled 2 rivit holes to #40 for each of the 10 k1000 plate nuts I then started to deburr the rivit holes I noticed while deburing that the screw holes were very sharp on the back side. Thats when I realized they had been dimpled. I had drilled most of the dimple away while up drilling as required leaving a sharp slightly dimpled edge. The k1000 platenut wont sit flush obviously and so I had to flattten the 10 dimples using my squeezer and flush dies. I then ran the #27 drill thru each again and deburred. All is well Now! Machine countersunk the 20 rivit holes for Nas rivits which have a smaller flush head and thus require less countersink in the skin. Perfect for this application. Tomorrow I will need to do same to the VS
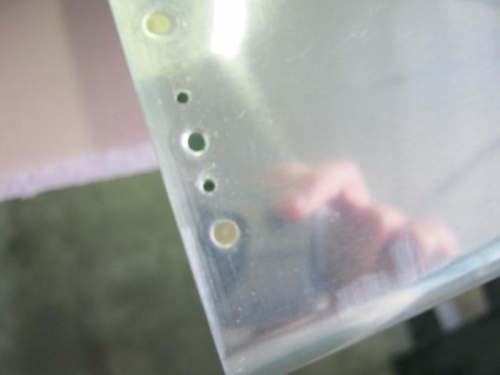
Rivit holes for platenuts drilled
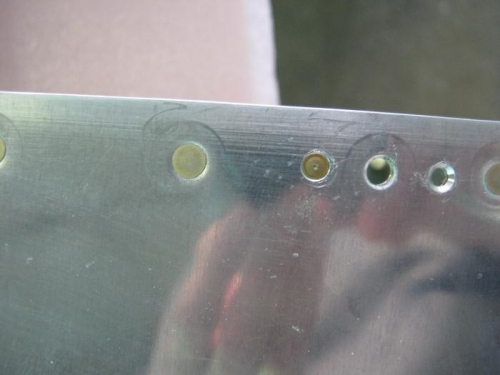
Rivit holes machine countersunk for smaller NAS rivits
Here is the instuction on this topic early on. Not sure why I dimpled them. I did at least leave them