Brief Description: Left flap scratch removal and re install and other
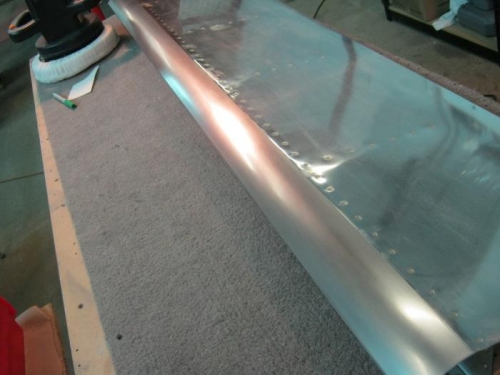
Sanded the left flap leading edge that travels under top wing skin trailing end after I marked where the leading edge dissapears under the skin when retracted fully. This sanding starts with 80 grit because many scratches are quite deep. I then increased the grit step wise till 2500 grit wet sanding done. I finished up with some polishing compound.
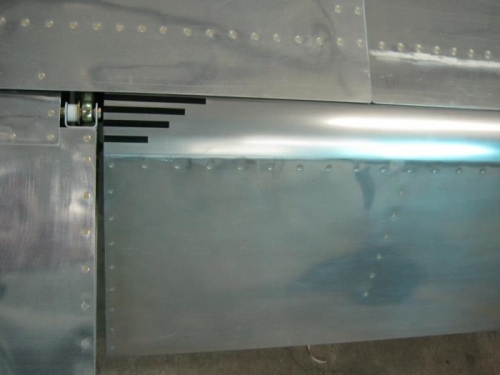
Reistall the flap and mark deflection points for 10 20 30 and 40 degres and then added pin stripe tape at each position. I did this on left side as most pattern landings will be left and the markings wilol be easily seen. The markings I made on the right are more general and will be useful for right pattern. I will use both and se if I want just one side done for after painting.
Reattached the flap extension tubes to the actuation tube etc.
Rest of my time today was shopping for some containers taht are marked in ml and pints for my fuel testing.
left flap leading edge scratch removal and top skin edged debured for smoothness
Marked flap deflection in 10 20 30 40 degree incremets with pin stripe tape