Brief Description: right upper cowl hinge installed
1. Drilled out 7 rivits that were sitting proud on the left side and then countersunk better and reset the rivits
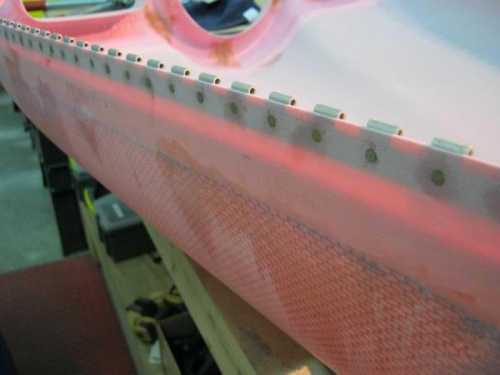
2. Mixed batch of fast cure epoxy with small amt of cotton flox and cabosil and applied to the right upper cowl hinge. Tried to not add too much this time. Cleco the hinge in place.
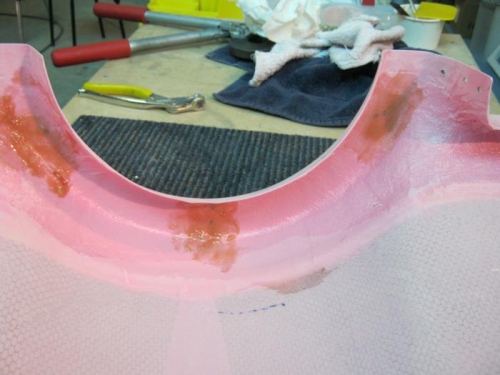
3. Used left over epoxy to wet some glass and cover the drilled holes in nose that I had during fitting process. Also added some along outside of cowl where the pink glass meets the honey comb. There are places in this cowl where voids are needing filled. Guess that will be required before any pin hole filling insues.
4. Rivit every other hole in hinge just clecoed on but only about half a squeeze. This also required adjusting the countersinks of nearly every hole!. Once finished, I did the other rivits. When all were half set, I went back and squeezed to full squeeze per depth gauge.
Not much else today due to temps only 10 degrees and hangar onlly getting to about 65 degrees. Also diverted attention to a gascolator leak on my Citabria so that required decowling and removing the gascolator bowl. Also noticed my brake fluid is low. Great! Speaking of brake fluid..... The RV8 still is NOT leaking after last redo. Looking promising...