Brief Description: Drill firewall hinges to lower cowl and made horiz
Sanded the aft edges of bottom cowl until it fit to the firewall
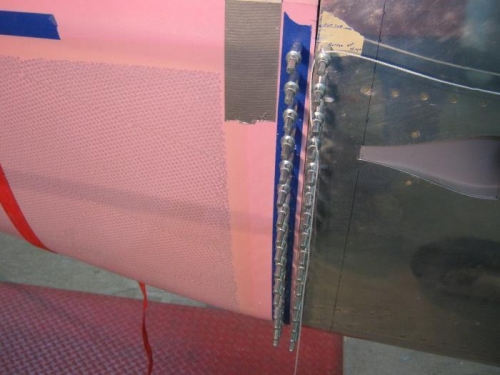
Measured and marked the hinge half for the cowl and with the cowl in position and pulled tight with duct tape, I marked the frill holes in cowling and then drilled and clecoed. Did this on both sides. I noticed that I spent at least 45 min just removing and then cutting to a trim line and then block sanding it and reinstall. Did this several times!
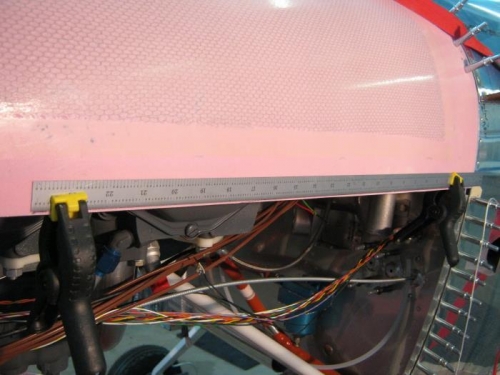
With the hinges installed, the bottom cowl is rigid now. So I moved on to getting horizontal cuts in the two cowl halves. I first made the cuts to the upper cowl in a line that looks horizontal to airplane center line. Block sanded. Re install and mark again etc.
When top was cut the way I wanted it, I installed it but let the lower cowl over lap the top on the sides and scribed a cut line on to the bottom cowl. Removed the cowl halves and made cuts and more sanding.
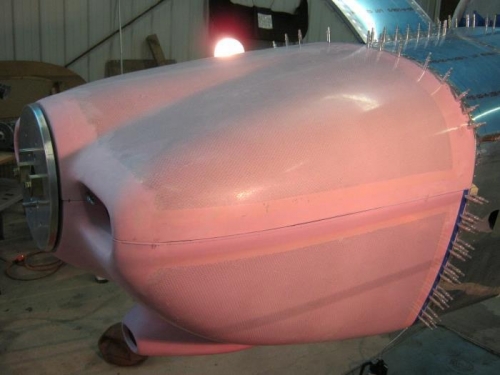
Did some light sanding to bottom and top cowl horizontal lines and almost have it fitting well enough to install the final hinges. Calling it a day!
Fit and drilled the hinges from firewall sides to the bottom cowl each side
Making another trim line on upper cowl both sides.
Trimmed and sanded until bottom cowl fit with top cowl. Note the cowl isnt supported in front now. Hap