Brief Description: Bottom cowl hinges and firewall side hinges
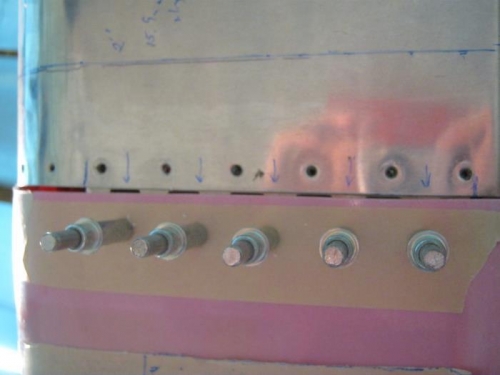
Bottom cowl was removed and reinstalled 5 times today! I wanted better gap on lower hinges and so the process of sanding and refitting to check is a process of on and off. Once the gap looked good, I marked the cowl for rivit drilling and then drilled the cowl to the hinge in 5 places on left and right hinges. @@@point to note! When the cowl is held tight in position with straps and screws, Id would NOT make the paint gap at edge untill all the cowl is fitted and hinges drilled. Reason is because the hinges have some slop in them and when the straping and screws are removed the hinge loosens at the pin and the gap changes! On the lower hinges my gap increased to more than I wanted.
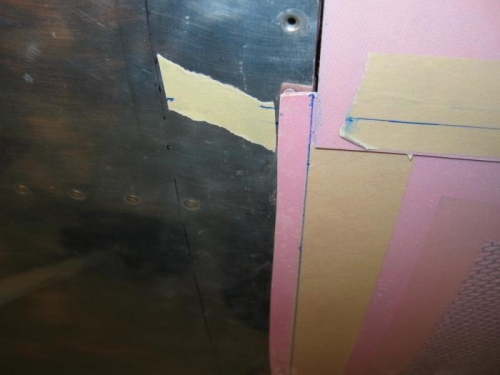
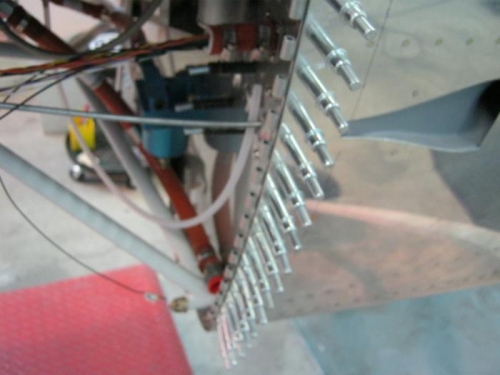
Next, I cut two 1/8 inch hinges to 15.5 inches as per dwg 60. These hinges are the vertical bottom cowl hinges and use the bigger steel pins of .125". The Dwg says to butt up against the horizontal cowl halves hinge yet they tell you the length to cut them. HMMMM!
I had my upper cowl cut line drawn on it and so I placed the hinge that goes there and marked where the bottom edge would end up if all goes as planned. Then I clamped the vertical hinges to that start line. Once in position, I match drilled the hinge to firewall flange on both sides and clecoed. The cowl hinge half will probably be next.