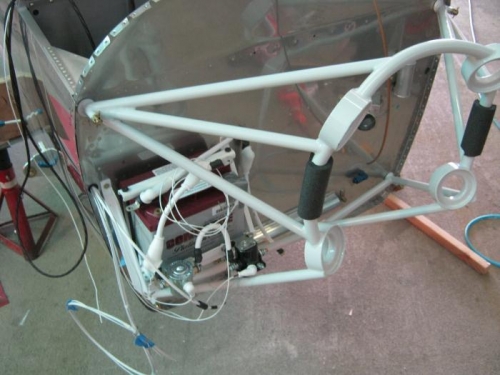
Installed my dynafocal engine mount (wd 801 d1 pc) today. Went well and glad its done! I selected 9 drill bits including some reamers from 3/16 thru to an undersized 3/8 reamer (from avery tools). Mount positioned on firewall using 3/16 bolts and noted I needed to slightly musclke the mount arms over the bolts since they did NOT line up. No suprise here. I was however amazed at how much movement I could get from each mount arm. First hole drilled using a bushing and trying to offset the piulot hole. Did not work well enough. Removed the mount and just drilled the hole using the 9 bit selection. Remounted the mount to check No difference in the the other holes. Basicly drilled the remaining holes with out the mount in place and only mounting it for final reamer drilling which I still needed to push or pull on the mount to center the FW hole to the mount. This way I was able to keep the proper angle on the drill. Did the final drillings and installed the mount. I only Had slight trouble with the last bolt. So I loosened the other bolts Pulled mount away from FW a bit and used a plastic mallet to drive last bolt in. It realy didnt take much pounding to get it in and it bolted up just fine. The drilled holes look good and round. Glad I used an undersized final 3/8 reamer too.
Done!
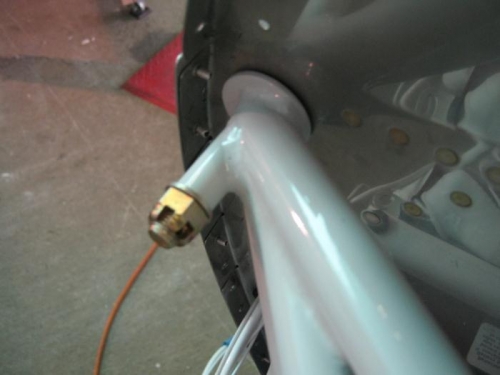
First engine mount withAN6 bolt instalw
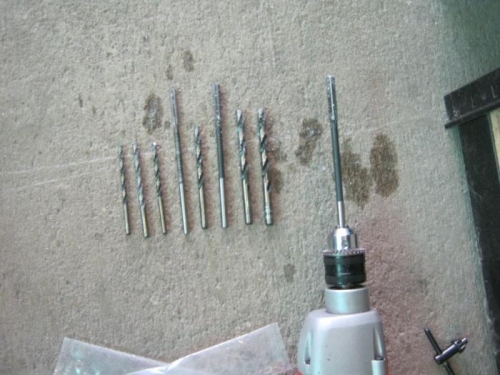
9 drill bits and reamer selection used to drill mount holes