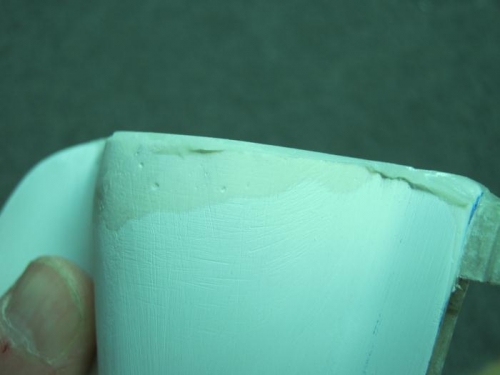
1.Sanded The epoxy ridge applied yesterday until smooth but slightly before reaching old sanding flat.
2. Applied electgrical tape to the back side of the mounting ring so that epoxy wouldnt stick to it.
3. Mixed small batch of epoxy with fast hardner and some micro. Applied this to the area just sanded and then positioned the mounting ring in place with slight press to seal any gaps. Set aside to cure.
4 After about 4 hours, I poped the ring free and removed the tape. Lightly sanded away goop that oozed out and hardened.
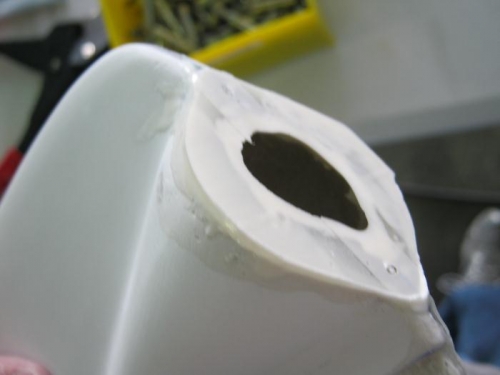
5. Reattached the mounting ring with double sided tape and then matched drilled the ring to the cap #30. Clecoed in position. Ready for rivits.
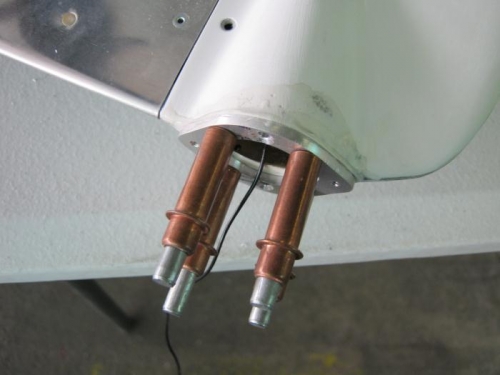
Note: The black wire coming out the light hole is the mounting ground and will be attached to the ring with a screw and nut in place of a rivit.
Rudder cap light mount new epopxy added and sanded down
Tail light mounting surface skin coated and readied for final mount
Mounting ring drilled to #30 in 6 locations and clecoed