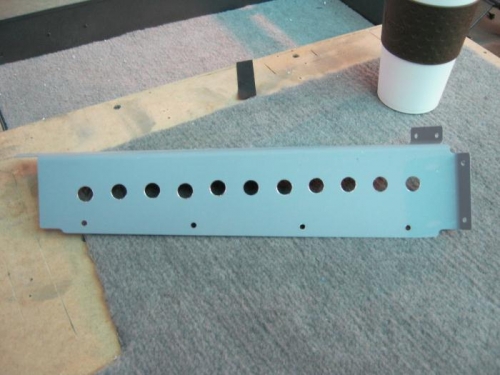
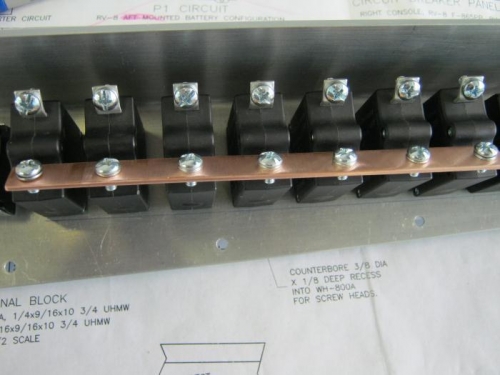
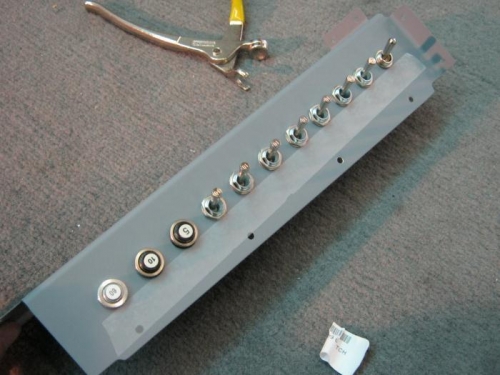
Transferd the hole locations to the switch console via the template. Drilled the holes up to 15/32 with a unibit. Some of the holes wandered off center some and so some carefull file work was required so they would line up better. Used the OP10 drawing to determine which breaker goes in proper place and installed them. Cut the copper buss bar to length and smoothed out edges and corners. I then laid it on the switches and marked hole locations onto the bar. I then drilled the holes to #19 and installed. The last 3 breakers get their own bar since the angle is different. I made the bar but then realized it wont work because my alternator CB is bigger than the one shown in plans and will require special fabrication. Ill work on that tomorrow.