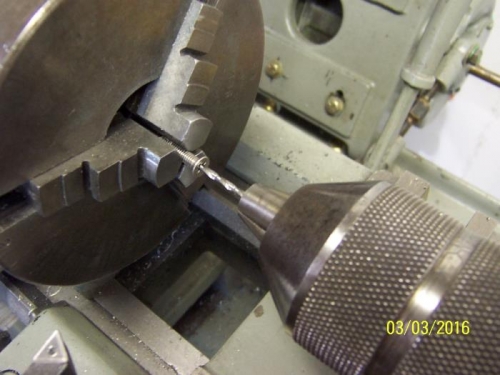
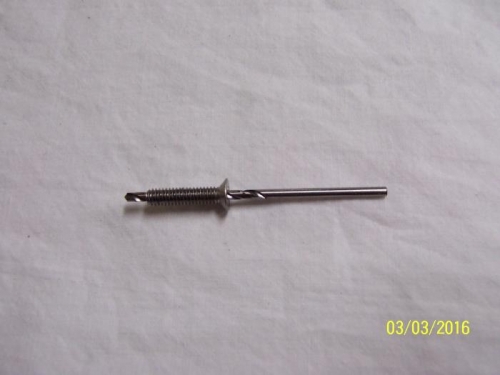
Today the latch actuator external handle was mounted. The shaft was cut to length, filed smooth, and the end of the shaft was sanded down slightly to allow the handle to slip on. The hole through the shaft for the Cap Screw was drilled in two steps. The initial 3/32” diameter pilot hole was drilled using a drill bushing fabricated from an 8-32 screw, on my lathe. All the drilling was completed with the outside handle in position on the canopy. The process worked well with the hole ending up on the centerline.
The rear canopy latch angle was reshaped slightly on the upper outboard edge to provide better clearance when the canopy was opened or closed.
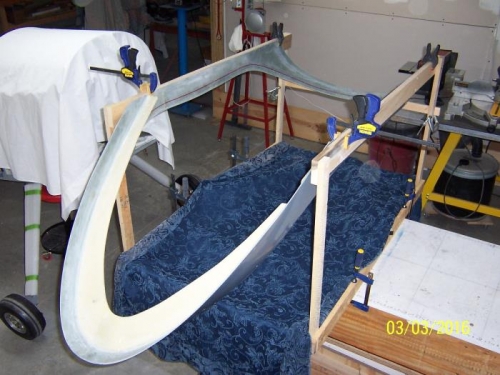
A wood frame, similar to the one described in the BM was assembled from scrap pieces. My only purpose for this is to ease the process of gluing the bubble to the skirt and installing the clecos. The plan is to move the bubble/skirt assembly to the fuselage immediately after the adhesive is applied, the two parts clecoed together, and the adhesive dressed out; well before the adhesive starts to cure. This allows the adhesive to cure with all of the canopy components clecoed together in their optimum final position.