
|

|
|
|
Johns Web Site
|
Date: 2-15-2016
|
Number of Hours: 12.00
|
Manual Reference:
|
Brief Description: Completion of the Wingtip Installation
|
|
The wingtip assembly process described in the February 5 post was repeated for the left wing. Again, I was pleasantly surprised how well everything aligned without modifications.
Multiple iterations of pinhole filling, sanding, and priming were needed to get the wingtips ready for final painting. This is not at all unusual for this type of fiberglass parts. These required far less work than others I have worked on in the past.
After all the holes were updrilled, the fiberglass holes countersunk, and the skins dimpled, the aileron alignment was checked one more time. The wingtips were mounted for final assembly. With clecos in every-other hole, the exposed rivet holes were reamed to final size. The clecos were transferred to the reamed holes and the remaining holes were reamed.
The flush rivets were installed, completing the wingtip assembly. The wings look great, and will be moved to the wing rack to free up table space, the next time one of my neighbors visit.
|
|
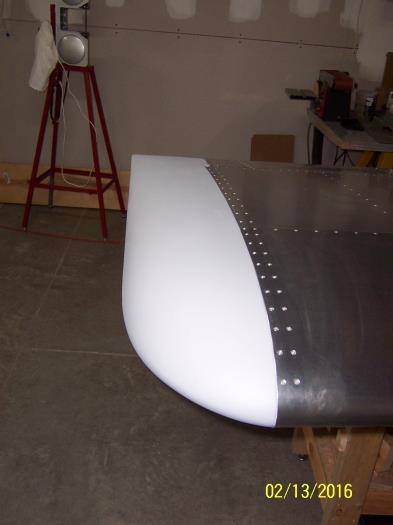
Completed Right Wingtip
|
|
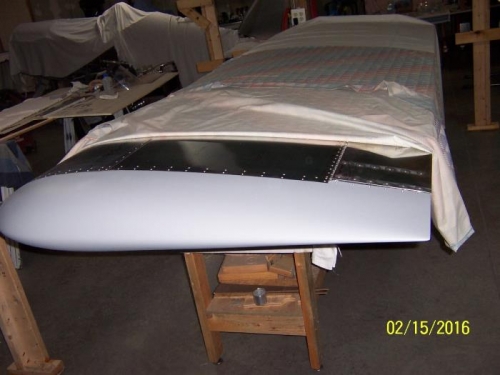
Completed Left Wingtip
|
|
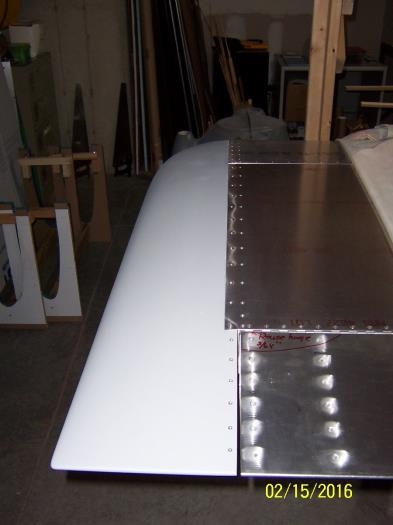
Rear View of the Left Wing Tip
|
|
|
|
|
|
|
|
|
Copyright © 2001-2024 Matronics. All Rights Reserved.
|