
|

|
|
|
Johns Web Site
|
Date: 11-5-2015
|
Number of Hours: 6.00
|
Manual Reference:
|
Brief Description: Right Fuel Tank Assembly
|
|
Today was a big day. The fuel tank ribs were mounted in the right wing skin. The skins were prepared by washing down the joint areas with acetone on both sides. Masking tape was applied to adjacent areas that needed to be free of sealant, and the outer surface of the skin at the rivet lines, then the sealant was mixed.
With the skin setting on a work surface, sealant was applied with a shortened acid brush, to the mating areas on the inside of the skin. A thick layer was also applied to the outer edges of the ribs, but not the rear edge. The ribs were then clecoed to the bottom side of the skin with two clecos, then the assembly was slid into the assembly saddle, taking care to see that the tops of the ribs were aligned with the rivet holes in the upper skin (method 2 in the Builder’s Manual.) Two clecos were added to the upper side of the skin/ribs to maintain alignment.
The rivet holes for the first two ribs were filled with clecos to apply pressure to the sealant, allowing time for the excess sealant to squeeze out before riveting the first rib. As the clecos in the first rib were replaced with rivets, they were installed in the third rib. This process was repeated for the length of the tank.
As each rivet was installed, the end was dipped in sealant and then the sealant was spread into the dimpled surface to insure complete sealant coverage behind the flush rivet head. As the head bottomed out in the dimple, it was twisted to be sure the sealant was distributed evenly, then the rivet stem was pulled.
After all the rivets were installed, the joints were smoothed with a brush inside the tank to form the squeeze-out into a fillet on both sides of the rib where there was enough sealant available. Fillets were also formed on the outside of the two end ribs using a small plastic tool.
The process worked well, but took longer than I thought it would.
I’m not known for being a fast builder.
|
|
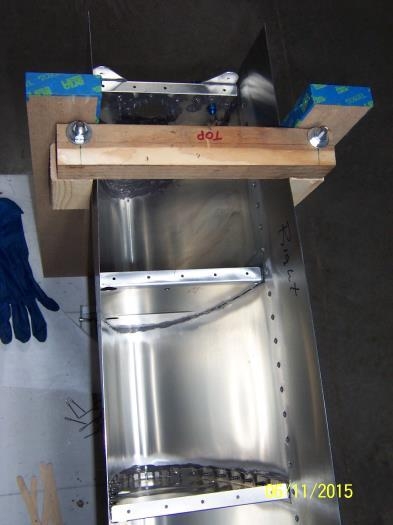
Ribs Installed and Sealed
|
|
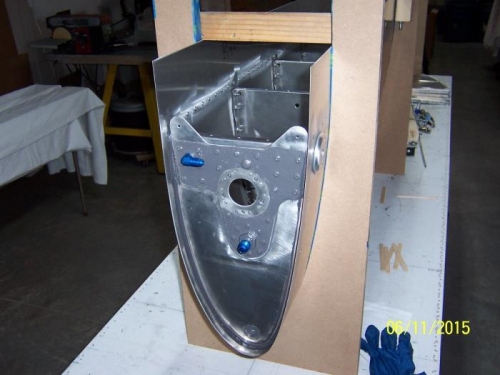
Inboard End
|
|
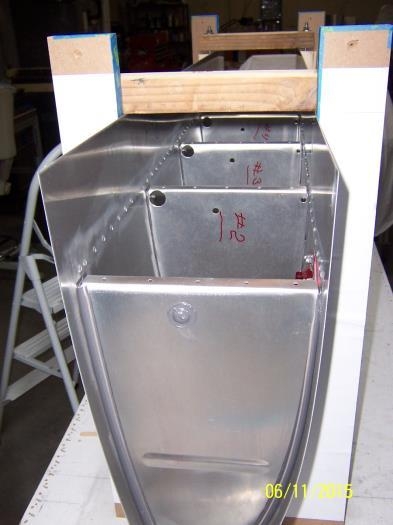
Outboard End
|
|
|
|
|
|
|
|
|
Copyright © 2001-2024 Matronics. All Rights Reserved.
|