
|

|
|
|
Johns Web Site
|
Date: 11-4-2015
|
Number of Hours: 5.00
|
Manual Reference:
|
Brief Description: Fuel Tank Assembly
|
|
Work on the fuel tank assemblies continued over the past two days. Yesterday, the right tank was clecoed together, and all the rivet holes were reamed to #30, then disassembled and deburred for the final time.
Today, the fuel filler and drain flanges, and their mating surfaces on the tank skins, were cleaned on both sides with acetone and lint free wipes. Sealant was mixed and applied to the mating surfaces, then the components were clecoed in position. Sealant was applied to the ends of previously cleaned rivets then smeared around the surface of the dimple in the skin, and the clecos were replaced with rivets sequentially.
The excess sealant was removed, leaving a small fillet around the edges of the components and around each rivet. To increase my comfort level, an additional ten grams of sealant was mixed, then thinned with lacquer thinner and packed into a 10-cc syringe. The thinned sealant was used to reinforce and fill any voids in the fillets around every rivet and fuel fittings in the two inboard ribs assembled two days ago and the fill and drain flanges now riveted to the tank skins.
The two outermost ribs for each tank were temporarily clecoed to the upper surface of the fuel tank skins so the skin would be forced to the proper contour while the filler flange sealant cures.
All of the sealed subassemblies were then placed in a closet that is warmed with a small space heater to about 90-degrees F. They will stay in the hot closet overnight.
|
|
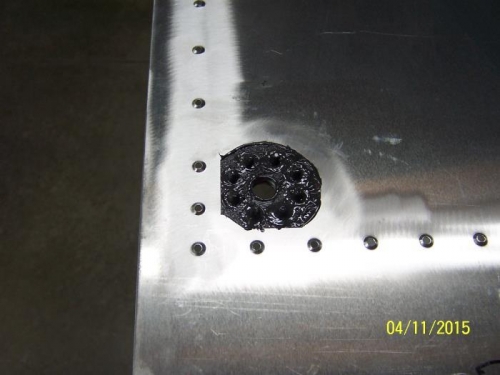
Inside View of the Drain Flanges
|
|
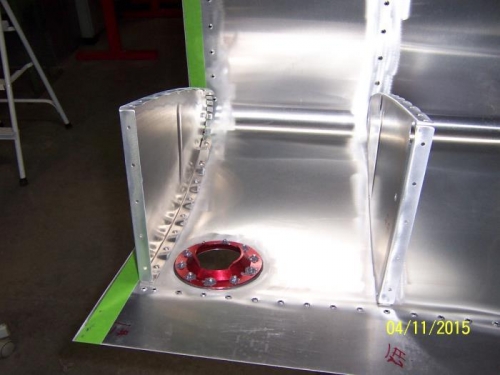
Inside View of the Fuel Filler Flange
|
|
|
|
|
|
|
|
|
Copyright © 2001-2024 Matronics. All Rights Reserved.
|