
|

|
|
|
Johns Web Site
|
Date: 8-7-2016
|
Number of Hours: 5.00
|
Manual Reference:
|
Brief Description: Firewall +
|
|
After convincing myself that the plexiglass firewall had served its purpose, and that all of the penetrations were identified and properly located, it was time to change out the firewall.
All of the penetrating wiring, control cables, fuel line and manifold pressure line were disconnected and pulled out of the plastic firewall. With the engine hung from the floor joists above, the engine mount bolts were removed, and the airframe moved back about ten inches, to create some working space.
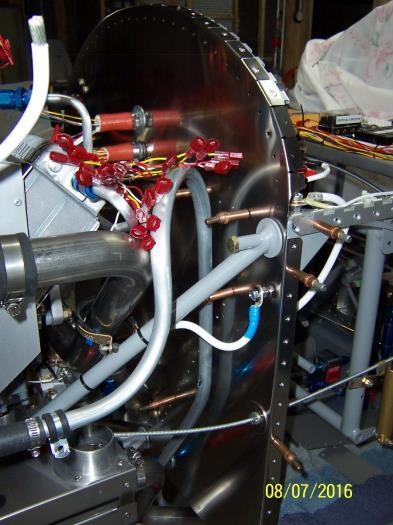
The plastic firewall was removed and used as a pattern to mark the hole locations on the upper and lower stainless steel firewall. The holes were cut in the S.S. firewall with step drills and a two-inch holesaw, then carefully deburred.
The S.S. firewall was mounted to the airframe and all the wires, control cables, etc. repositioned through the openings. The engine was reinstalled to the airframe to check the fit of everything, and the results looked good.
I prepared to pull the firewall away from the airframe again, so the Poly-ProTech sealant could be applied, but found the remaining sealant in the tube had set up and was unusable. So this operation was se aside and another tube of sealant ordered.
|
|
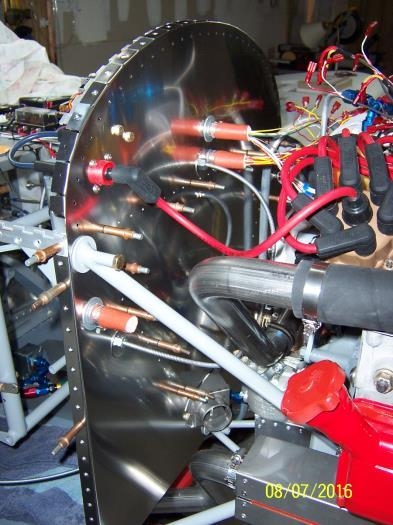
Stainless Steel Firewall Installed
|
|
Left Side
|
|
|
|
|
|
|
|
|
Copyright © 2001-2024 Matronics. All Rights Reserved.
|