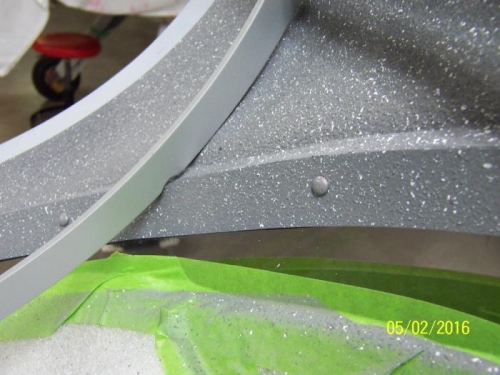
The painted canopy frame was clecoed in place, then the rivet holes for the frame to skirt were countersunk on the outside. The frame was on and off several times because there was interference between the canopy bow and the inside edge of the bubble. Both components were sanded with a Dremel drum to relieve the interference (Image #3.)
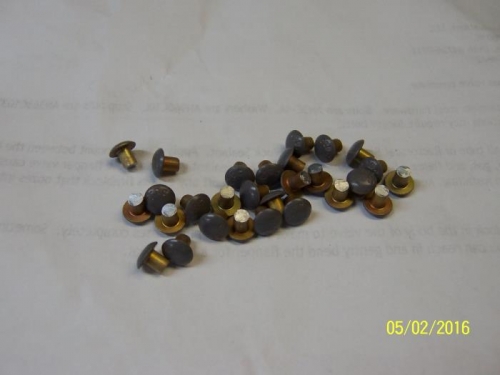
After completing adhesion tests with fiberglass and plexiglass samples assembled with 3M 5200 adhesive, I convinced myself the specified screws and nuts were not necessary. However the holes left in the bubble and skirt from clecoing the two parts together while the adhesive cured, would not pass the appearance sensibilities. To improve the appearance on the inside, solid aluminum rivets were cut down to a length of 5/32”. The heads of the rivets were painted to match the interior gray, then pushed into the holes and secured with a drop of superglue (Image #3.)
The holes on the outside will be filled with Bondo then sanded flush.