
|

|
|
|
Johns Web Site
|
Date: 3-29-2016
|
Number of Hours: 5.00
|
Manual Reference:
|
Brief Description: More Tail Fairing and Canopy Skirt Finishing Work
|
|
Additional spot putty was applied to the tail fairing, allowed to cure, then final sanded with 220 grit sand paper. Another full coat of primer was applied, revealing no additional defects.
The tail fairing was set in place on the fuselage, and marked for mounting screws. The fairing was removed and #40 pilot holes drilled on each side near the back of the fairing. The fairing was set back in place and the holes were match-drilled into the fuselage, then updrilled to #30.
The fairing was removed again and an 8-32 nutplate mounted on each side of the fuselage. The holes in the fairing were updrilled to 0.160”, then countersunk to receive a #8 countersunk chrome plated washer. The fairing was reinstalled and 8-32 screws applied. Looks good. The fit of the fairing is tight enough, that only the two screws at the back appear to be necessary.
The canopy skirt was sanded again and additional spot putty was applied, cured, then sanded again. The inside of the skirt where the bubble adhesive will later be applied, was masked, then the exterior of the skirt was primed. There are still a few pin holes that will be fixed later.
After the skirt primer cured, the skirt was placed back on the fuselage, and marked around the perimeter of the canopy frame for masking.
|
|
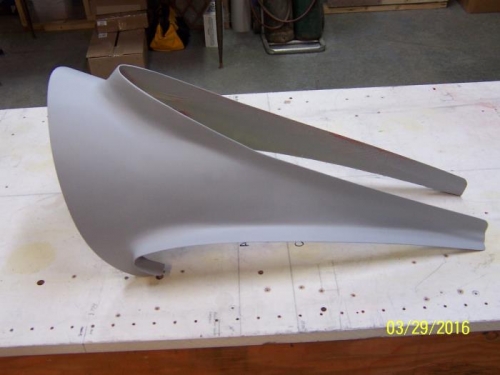
Pin Holes Finally Eradicated
|
|
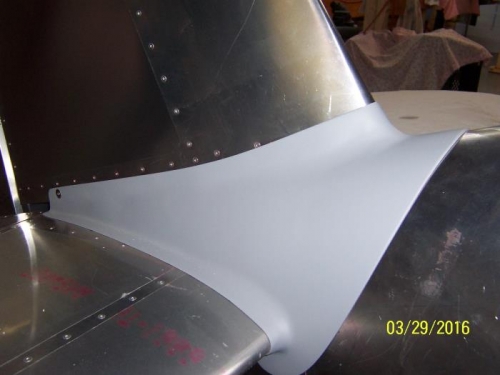
A Single Mounting Screw on Each Side
|
|
|
|
|
|
|
|
|
Copyright © 2001-2024 Matronics. All Rights Reserved.
|