With the lower tail fairing in place, work started on the upper fiberglass fairing. The first order of business is to fill the gap at the intersections with a poster-board former to set a shape that intersects well with the four intersecting components. I initially tried a single layer of poster-board, but it had a tendency to crease when forced to mate to the three mating curved surface.
To overcome this issue, I laminated two layers of poster-board against a curved surface, providing the general shape and stiffening it enough that it did not crease. The curved surface was a piece of 0.025” thick aluminum sheet rolled to a radius, and taped to hold the shape.
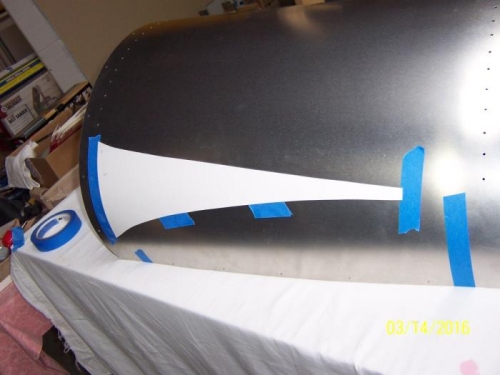
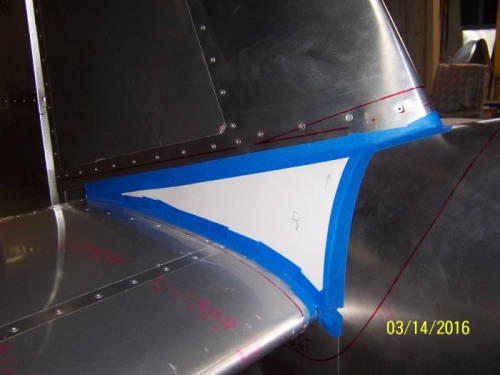
The first piece of precut poster-board was sprayed with 3M Super 77 adhesive, then taped to the curved surface with the sticky side out. The second precut poster-board was sprayed on the back side, then carefully aligned with the first layer on the curved surface; then the two pieces were pressed together. The laminate was then carefully removed from the aluminum former and positioned on the fuselage. Short segments of tape were used to align the top of the laminate with the bottom edge of the vertical stabilizer, and the lower edge with a line pre-drawn on the horizontal stabilizers.
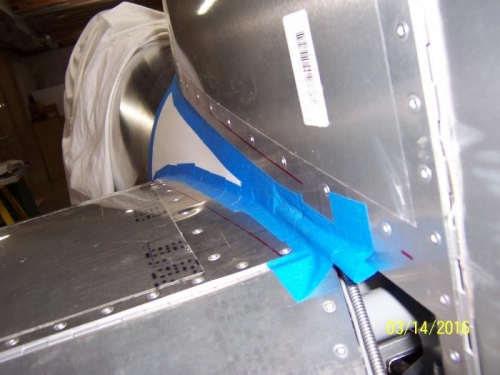
At the rear of the left side, the poster-board former was truncated and a 5/16” wood dowel was wrapped in tape and mounted in position to form a tunnel for the trim cable. This area still needs a little more work.