Today’s work started with cleaning and deburring of the remaining aileron ribs, removing the protective film from the inside of the aileron skins, then marking and drilling the aileron side of the hinges.
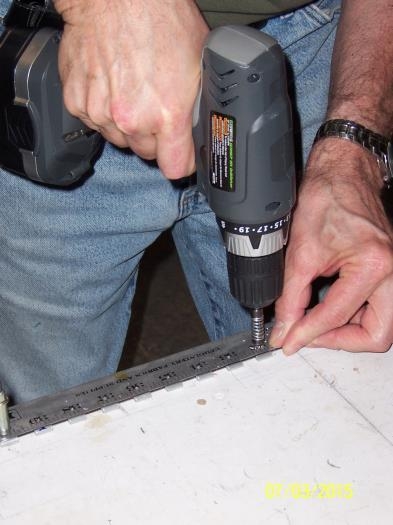
The hinges were drilled using a heavy, five foot long aluminum scale that had been prepunched at one-inch intervals with 3/32” holes. The scale was positioned and clamped against the hinge knuckles with the holes in the scale centered on the knuckles. After the first hole was trilled, the scale and hinge were clecoed to the table to prevent movement while the remaining holes were drilled.
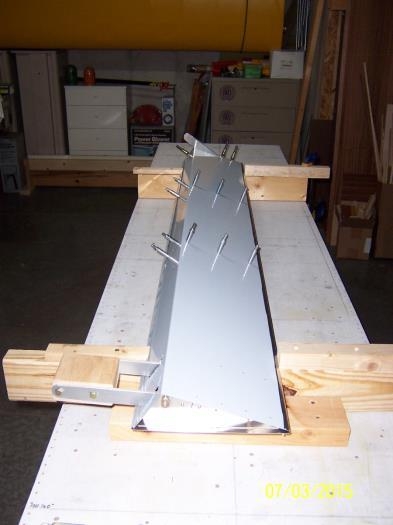
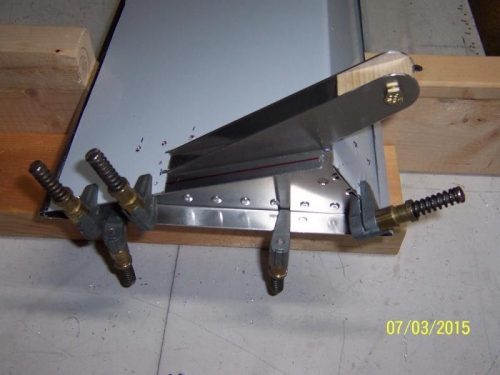
Red lines were drawn down the center of all three flanges of the ribs to aid in positioning after they were placed inside the skin. Starting with the right aileron, the ribs were forced against the bottom and front of the skin and the initial #40 holes were drilled and clecoed to lock the ribs in position while the remainder of the holes were drilled. The two center ribs were drilled today.