
|

|
|
|
Johns Web Site
|
Date: 5-22-2015
|
Number of Hours: 2.75
|
Manual Reference:
|
Brief Description: Aft Fuselage Prep
|
|
Today I primed the four baggage compartment floor stiffeners and two tail cone spacers.
While setting up to countersink the lower longerons, I did a quick check of the countersink depth by dimpling a small (1” X ¾” X 0.020”) aluminum coupon (see image #1) and setting it into a countersink test piece. Previously I had used the gauge shown in image #2 to set the countersink depth, for all the previous countersinking. While the countersink looked good with this gauge, the small coupon revealed that the countersink depth was actually slightly short because I could rock the coupon back and forth in the countersunk hole with finger pressure on either side of the dimple. I also riveted an identical coupon to the test piece and found that the skin around the rivet was a few thousandths of an inch off the test piece.
I believe that since the original gauge is ground off at the centerline for viewing purposes, that it is difficult to be sure the centerlines are aligned for a correct visual representation. With the uncut coupon, the center is automatically maintained, yielding a more accurate result. To confirm that this was actually a problem, I closely examined the dimples on the wings and found a slight pillowing around the rivets that attached the skin to the front spars. This is not a structural issue, but is visually imperfect. Dimpled skins riveted to dimpled ribs and the dimpled rear spar were essentially flat.
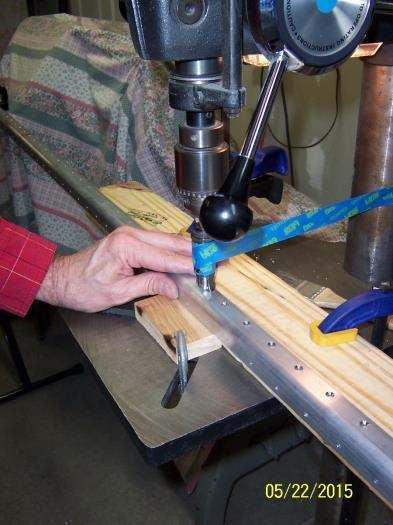
To determine the optimum countersink depth, I cut a series of countersinks, in a scrap piece of aluminum angle, with outer diameters (the only feature of the dimple that is practical to measure with the tools I have available) ranging from 0.276” to 0.311”. The two countersinks smaller than 0.292” allowed the coupon to rocked slightly, the countersinks larger than 0.292” allowed a slight lateral movement of the dimpled coupon, but the 0.292 diameter countersink did not rock or allow lateral movement. So, I think I found the sweet spot.
With the countersinking tool locked at the n
|
|
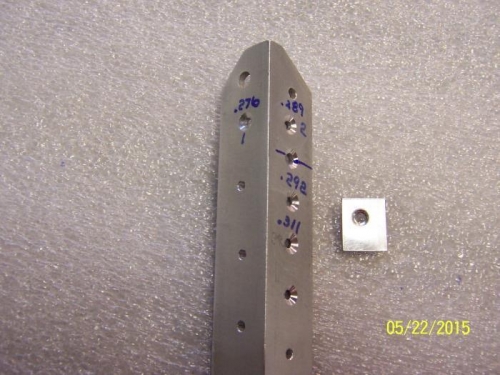
Countersink Depth Investigation
|
|
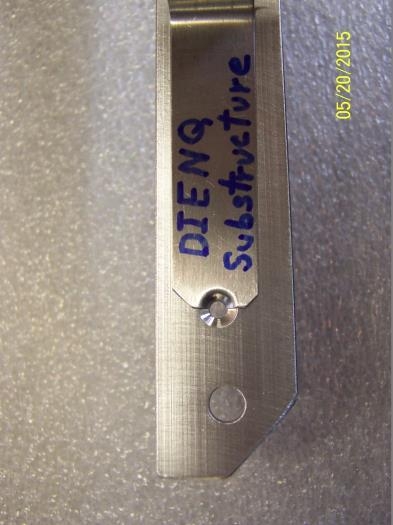
Old Countersink Gauge
|
|
|
|
|
|
|
|
|
|
|
Copyright © 2001-2024 Matronics. All Rights Reserved.
|