
|

|
|
|
Johns Web Site
|
Date: 5-5-2015
|
Number of Hours: 2.50
|
Manual Reference:
|
Brief Description: Fuel Tanks
|
|
Adjusted and clamped the fuel tanks square and level in their assembly saddles, using the the threaded rods and nuts added to the saddles. This makes adjustment for perfectly true tanks easy, but be very careful not to over-tighten the nuts, or the skin could be permanently creased.
Aligned the tank rear covers to the rear of the tanks and clecoed in place. Note – The tank rear covers are not symmetrical. Be sure the rivet holes on the rear surface align with all of the rib holes. If not, rotate the rear cover 180 degrees and they should all align.
Match drilled the tank skins, #40, to the rear covers. Be careful to push the rear covers down against the ribs while match drilling.
Removed the end ribs and set the soft ¼” rivets in the tooling holes.
The fuel tanks will be set aside until the “tank dimpling dies for blind rivets” are received from Cleaveland Aircraft Tools. The tank closed end flush rivets have a larger head depth and diameter than the flush rivets used elsewhere, causing the rivet heads to stand proud above the skin surface if the normal or DIENQ dies are used. These new, not yet available, “tank dies” also leave room for the tank sealant under the rivet heads, and accommodate the 120-degree head angle used on blind rivets.
|
|
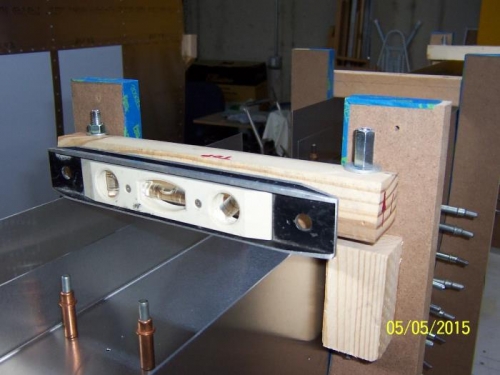
Leveling and Clamping the Fuel Tank in the Assembly Saddle
|
|
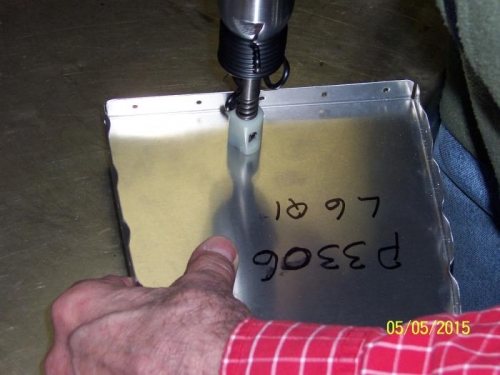
Setting the Soft 1/4" Soft Rivets in the End Rib Tooling Holes.
|
|
|
|
|
|
|
|
|
Copyright © 2001-2024 Matronics. All Rights Reserved.
|