
|

|
|
|
Jeff & Jackie's RV-8 Project
|
Date: 10-18-2006
|
Number of Hours: 2.00
|
Manual Reference: 7-11
|
Brief Description: Left flap, FL-406C bracket
|
|
You'll no doubt be pleased to hear that I passed my exam earlier this afternoon, so I celebrated by getting back to making the FL-406C bracket. This is short-lived though, I have another exam at the end of the month and need to do some *serious* study for that one!! After much additional research and an email from Vans, I determined that you do indeed fabricate FL-406C from one of the three 12 foot lengths of AA6-063x3/4x3/4 of angle. So I dived into the attic, extracted one length and the C-frame dimpler and went to it. I got off two pieces of angle 4&7/8" long with a hacksaw, put one in the box of parts and started work on the other angle. I stored the angle from hooks in the workshop ceiling so its out of the way. And here's how I proceeded with the bracket ---> first of all, I cut the taper along the bottom to 9/16" at the front as per the plans. I also had to make a small taper to the front vertical web so the bracket sat nicely against the rear face of the front spar. I also squeezed the bracket in a vice a little so it sat at the correct angle between the FL-406B bracket and the end rib (around 85 degrees included, or thereabouts). Next I cleco side-gripped it in place against the FL-406B bracket, holding it down on the inside with my square while I did so. This ensured that it was both tight to the FL-406B bracket and the end rib/skin. Of course, it was only being held by a single side-grip so I had to be careful not to create a misalignment during drilling. I flipped the flap over and drilled lightly through the existing #30 hole just enough to create a divot in the center. I then removed the FL-406C bracket and drilled the hole slightly undersize to 3mm in my drill press. I re-fitted the FL-406C to the assembly, match drilled with a #30 and then cleco'd it. I removed the side-grip and then clamped the FL-406C to the FL-406B and drilled and cleco'd the remaining holes one at a time, ensuring proper alignment the whole time.
|
|
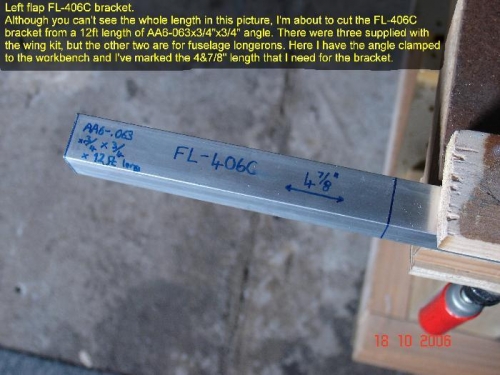
About to cut on of the 12ft lengths: oh-oh!!
|
|
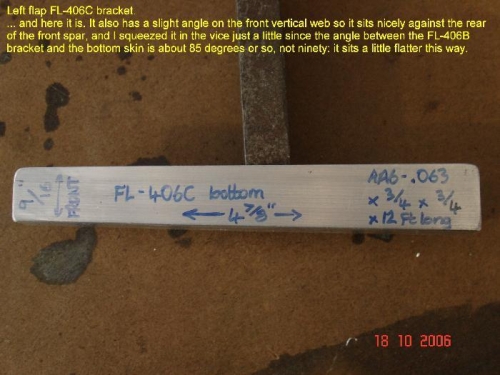
Here's the FL-406C cut and shaped
|
|
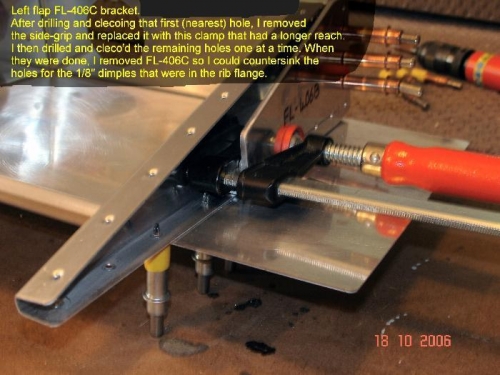
Clamped in place for drilling the bottom holes
|
|
|
|
|
|
|
|
|
Copyright © 2001-2024 Matronics. All Rights Reserved.
|